
Belen Bodysuit Sew Along: Bottom

This blog post is an addition to the Belen Bodysuit PDF pattern that can be purchased in my web shop. The photos and explanations will guide you through making the long sleeve version of the Belen Bodysuit.
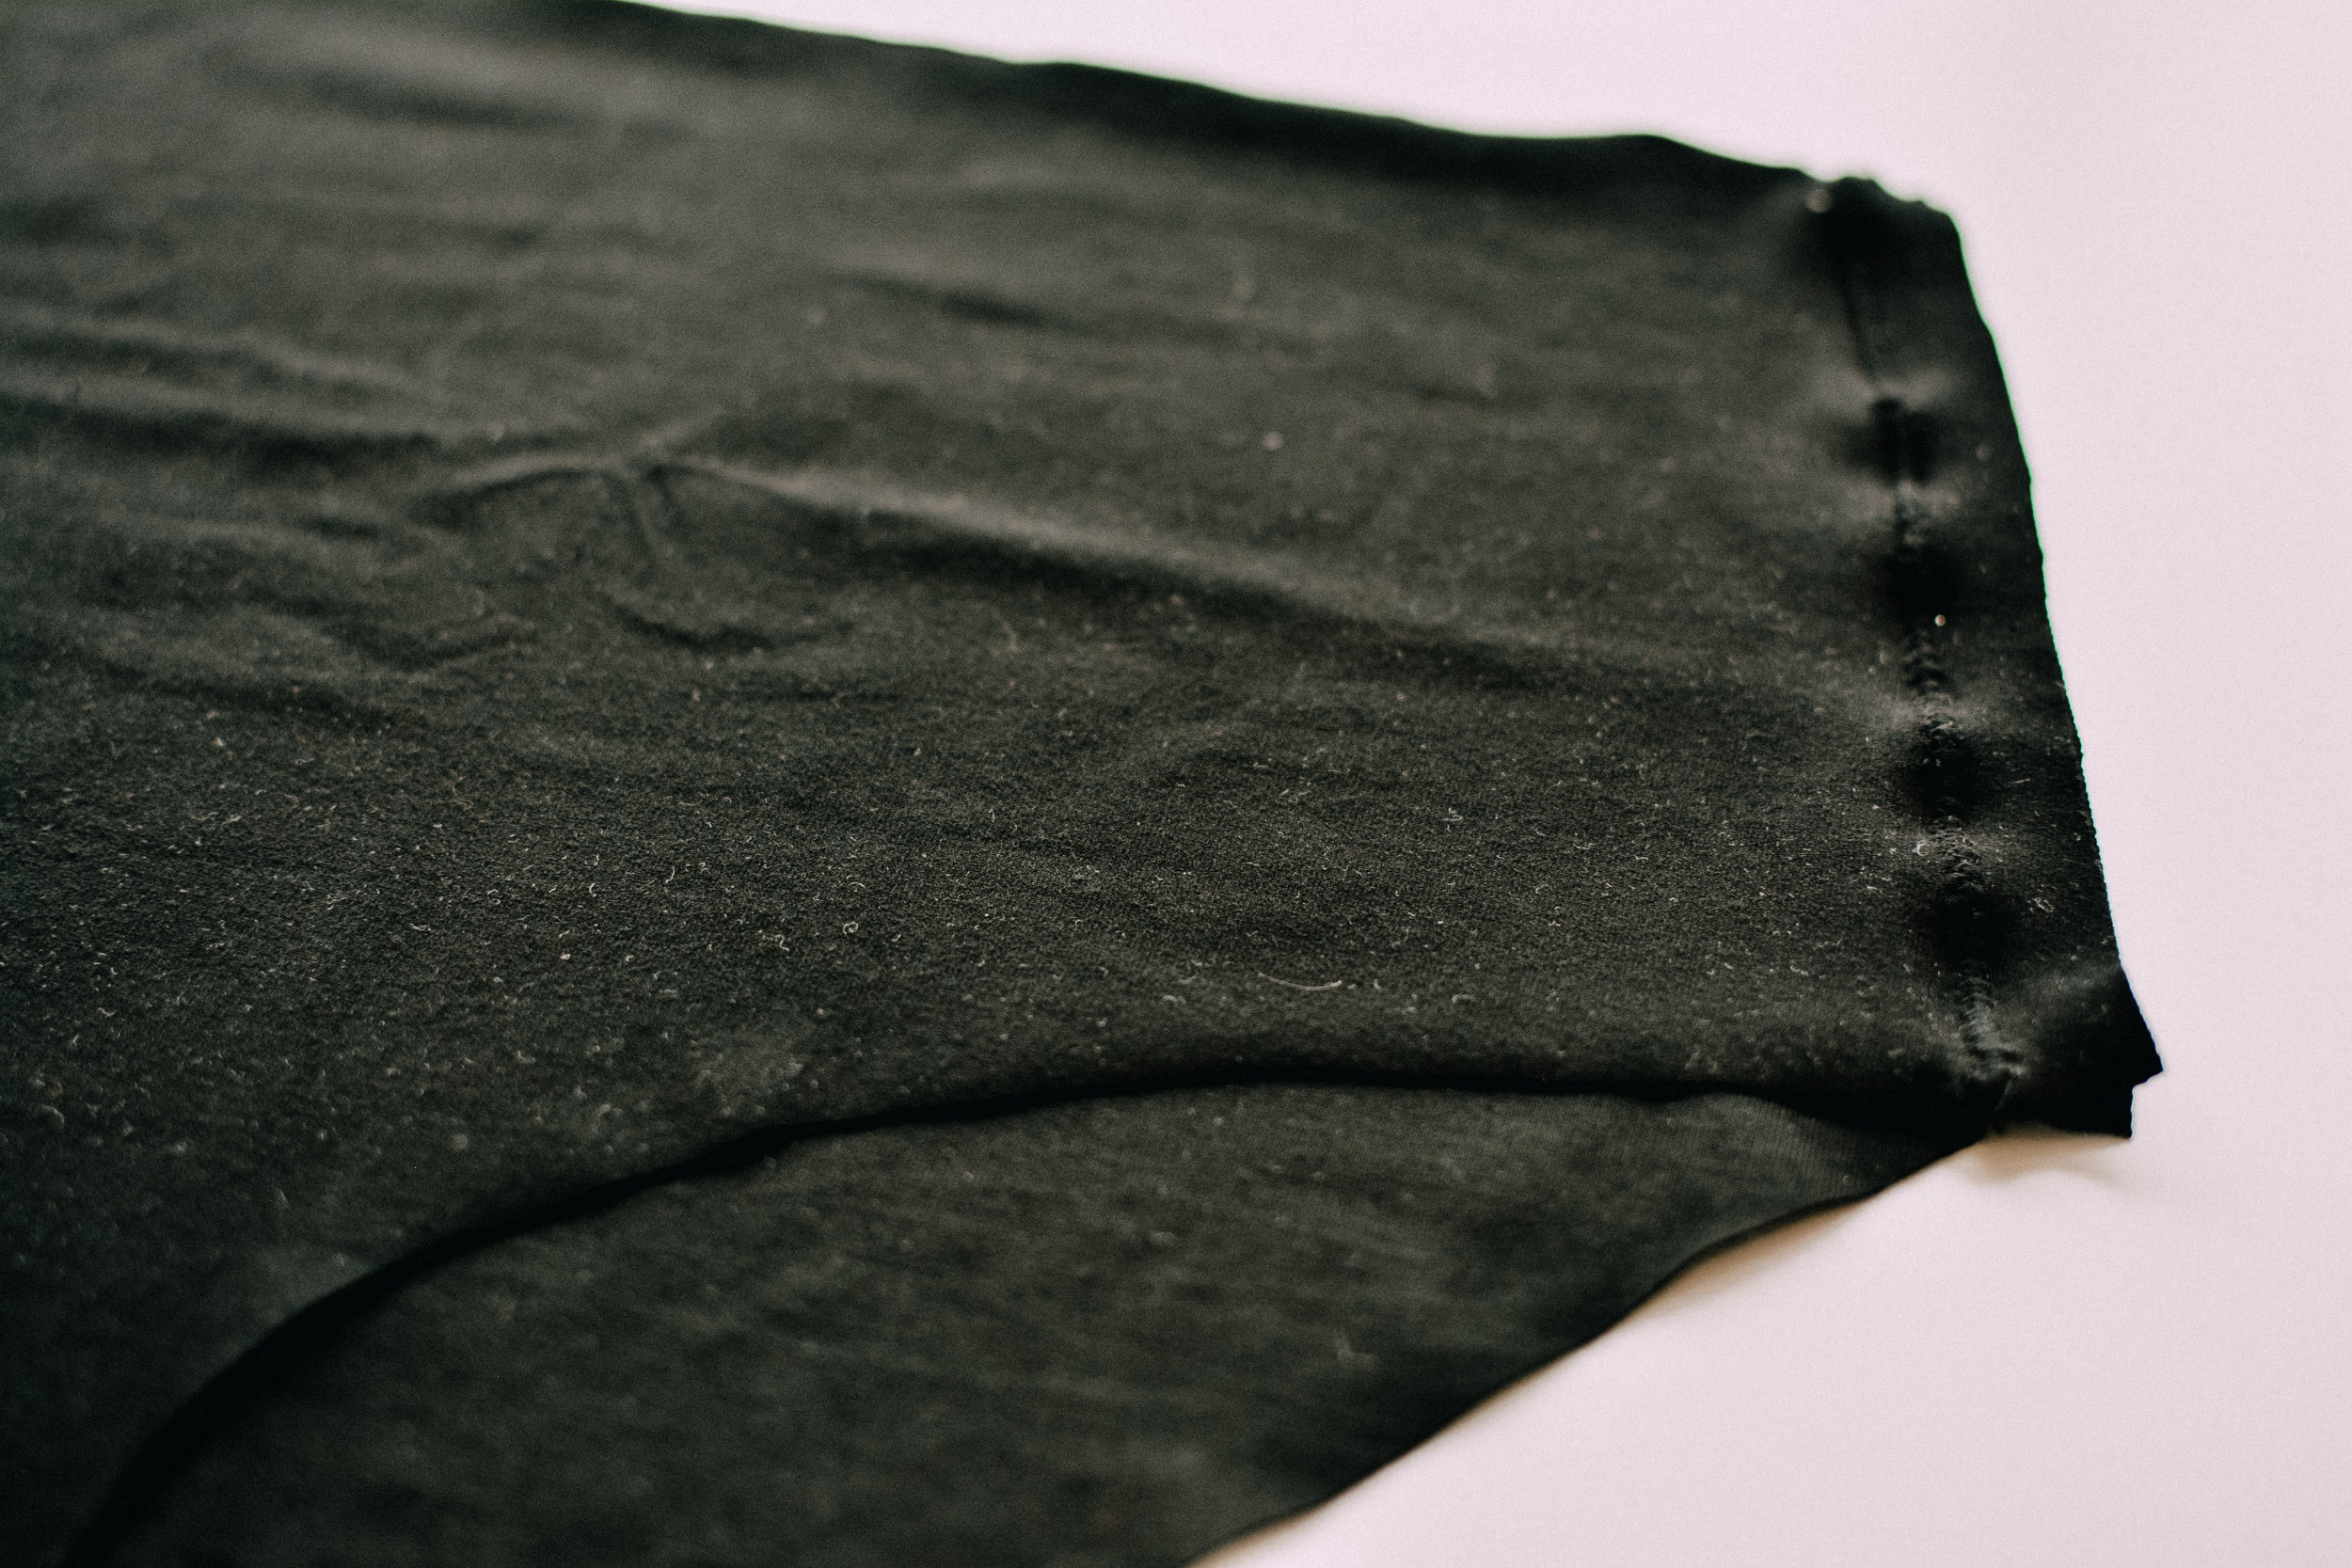
Take your bottom front and back piece and place them together with the right sides fac-ing each other. Sew the sideseams togeth-er using a zigzag stitch (1.5 cm / 5/8” seam allowance). Press the seams open.
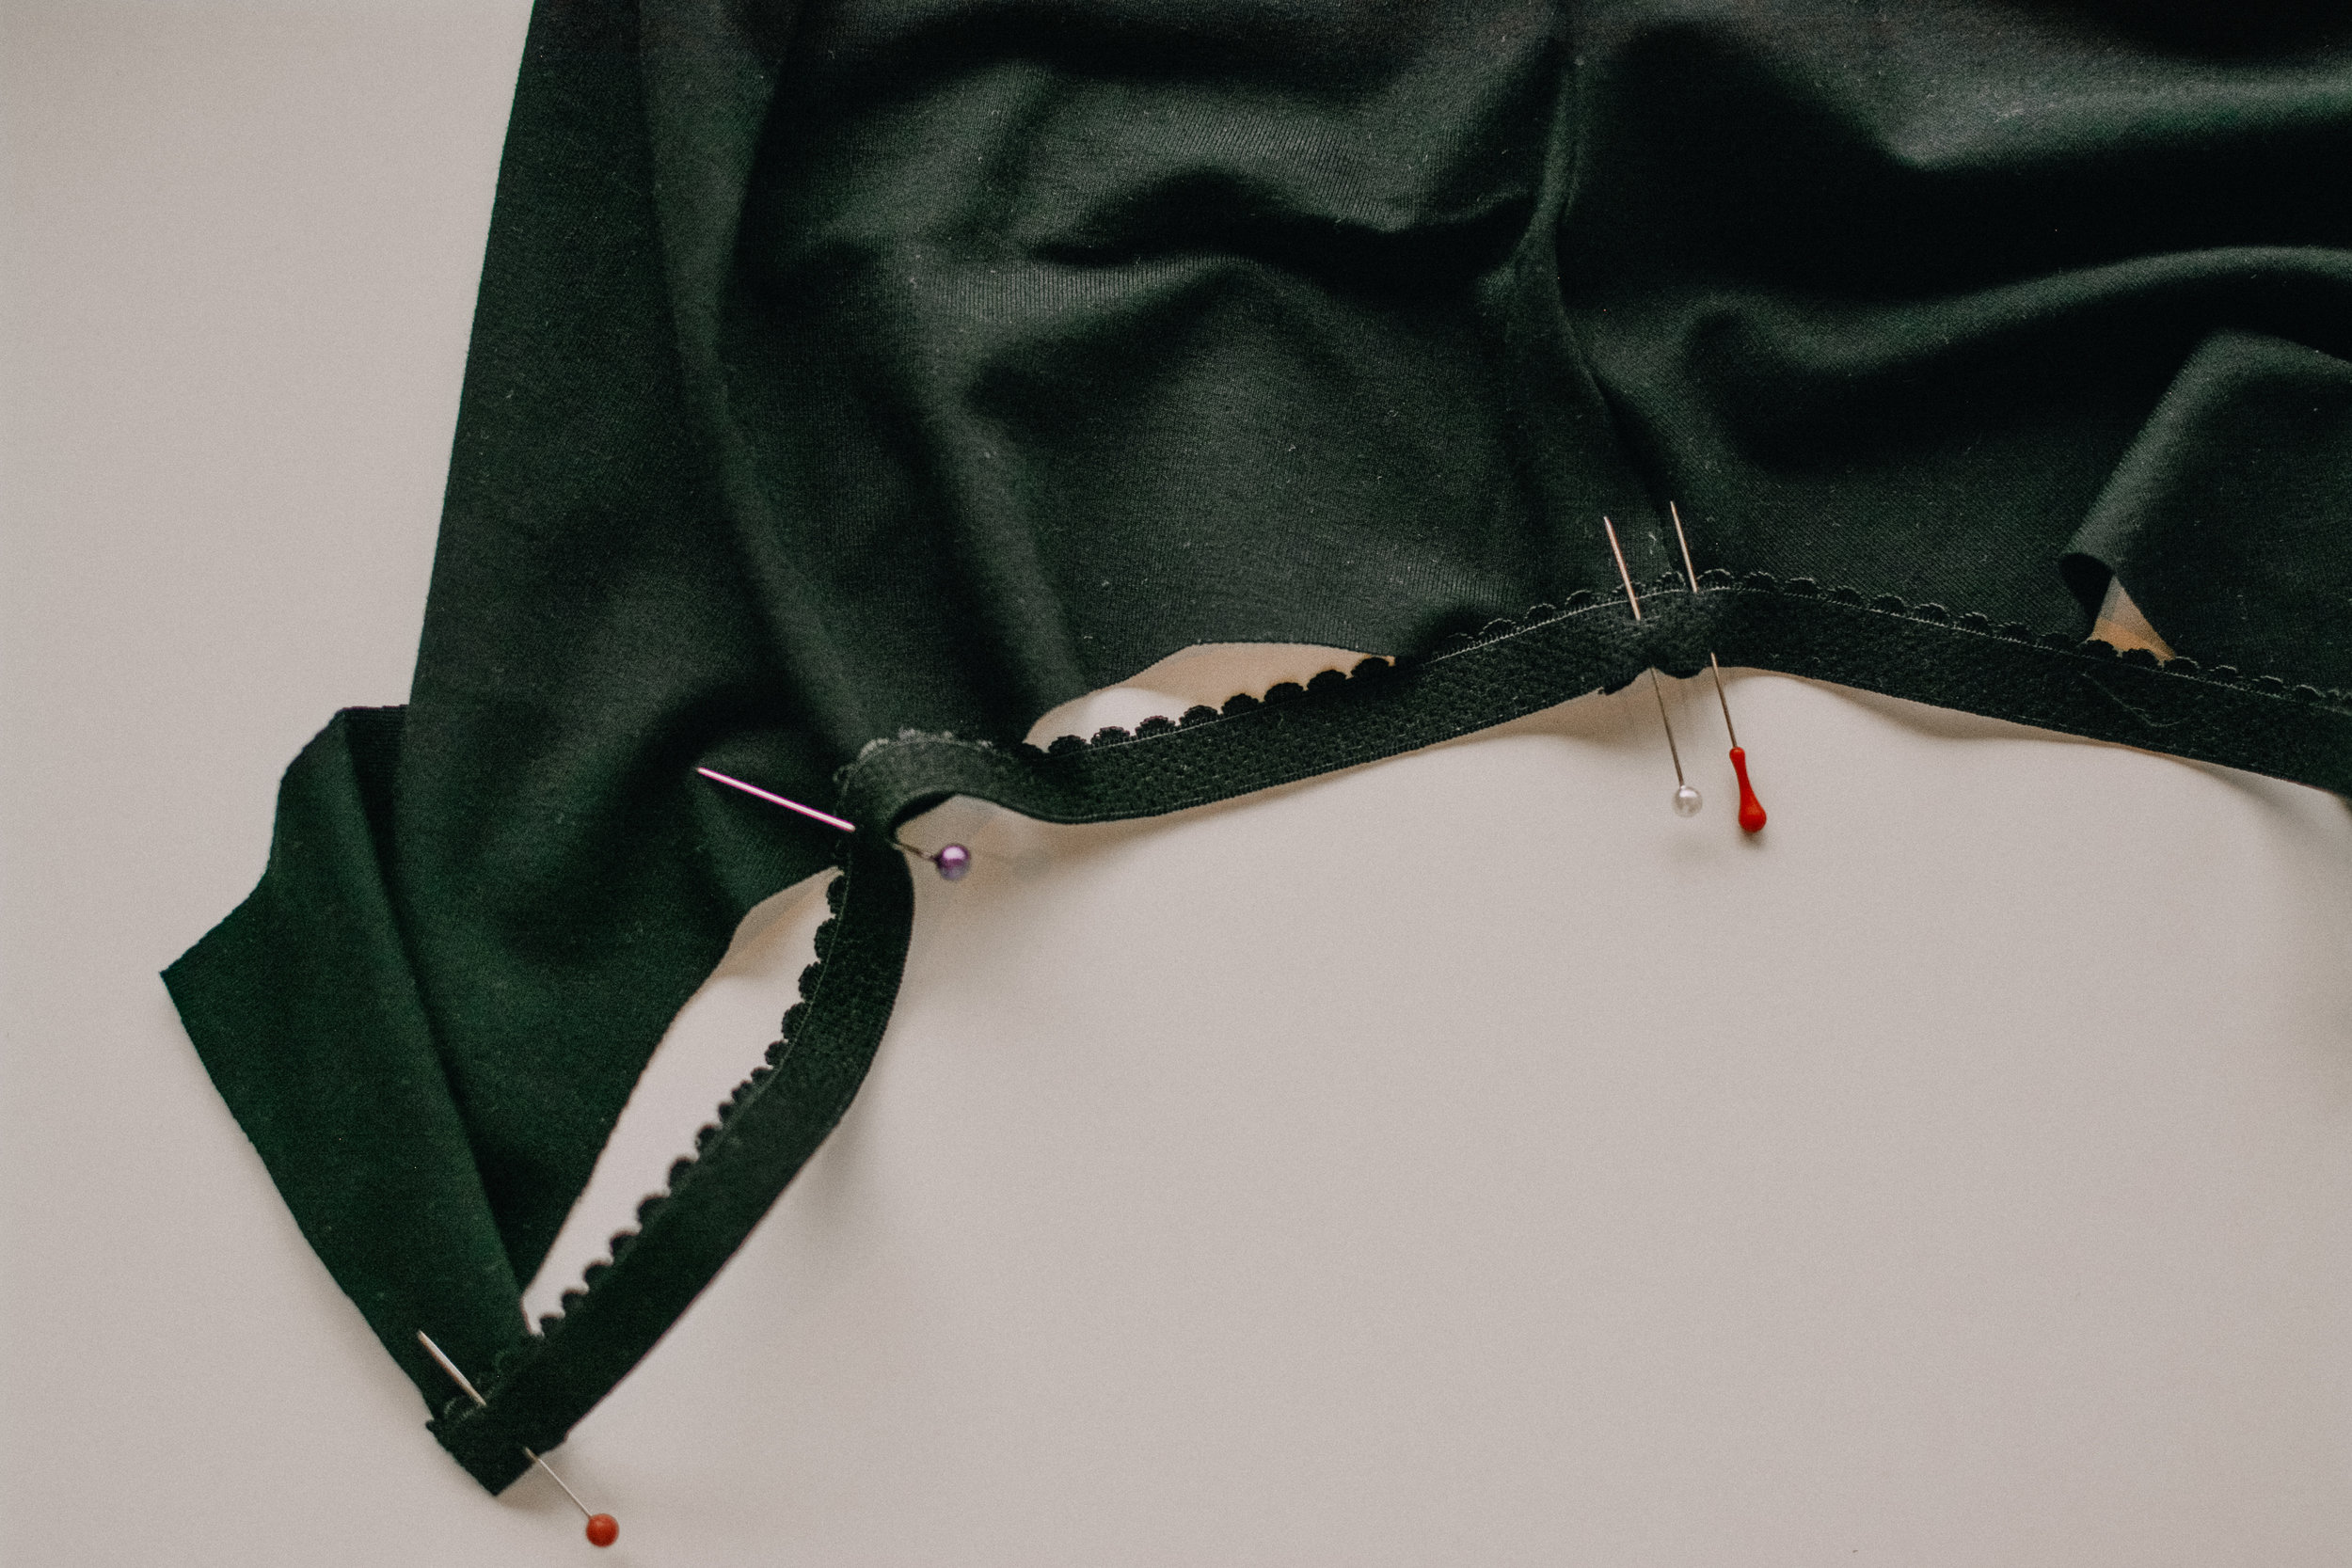
Cut a piece of elastic according to your size (chart on page 2). Cut your elastic in two equal pieces. Evenly pin the elastics to the leg openings on the right side of the fabric. Make sure the decorative edge of your elas-tic is facing inwards like shown in the illus-tration. Gently pull the elastic whilst zigzag stitching it to the fabric.
(If you are using normal elastic whithout a decorative edge, you sew it to the wrong side of the fabric.)

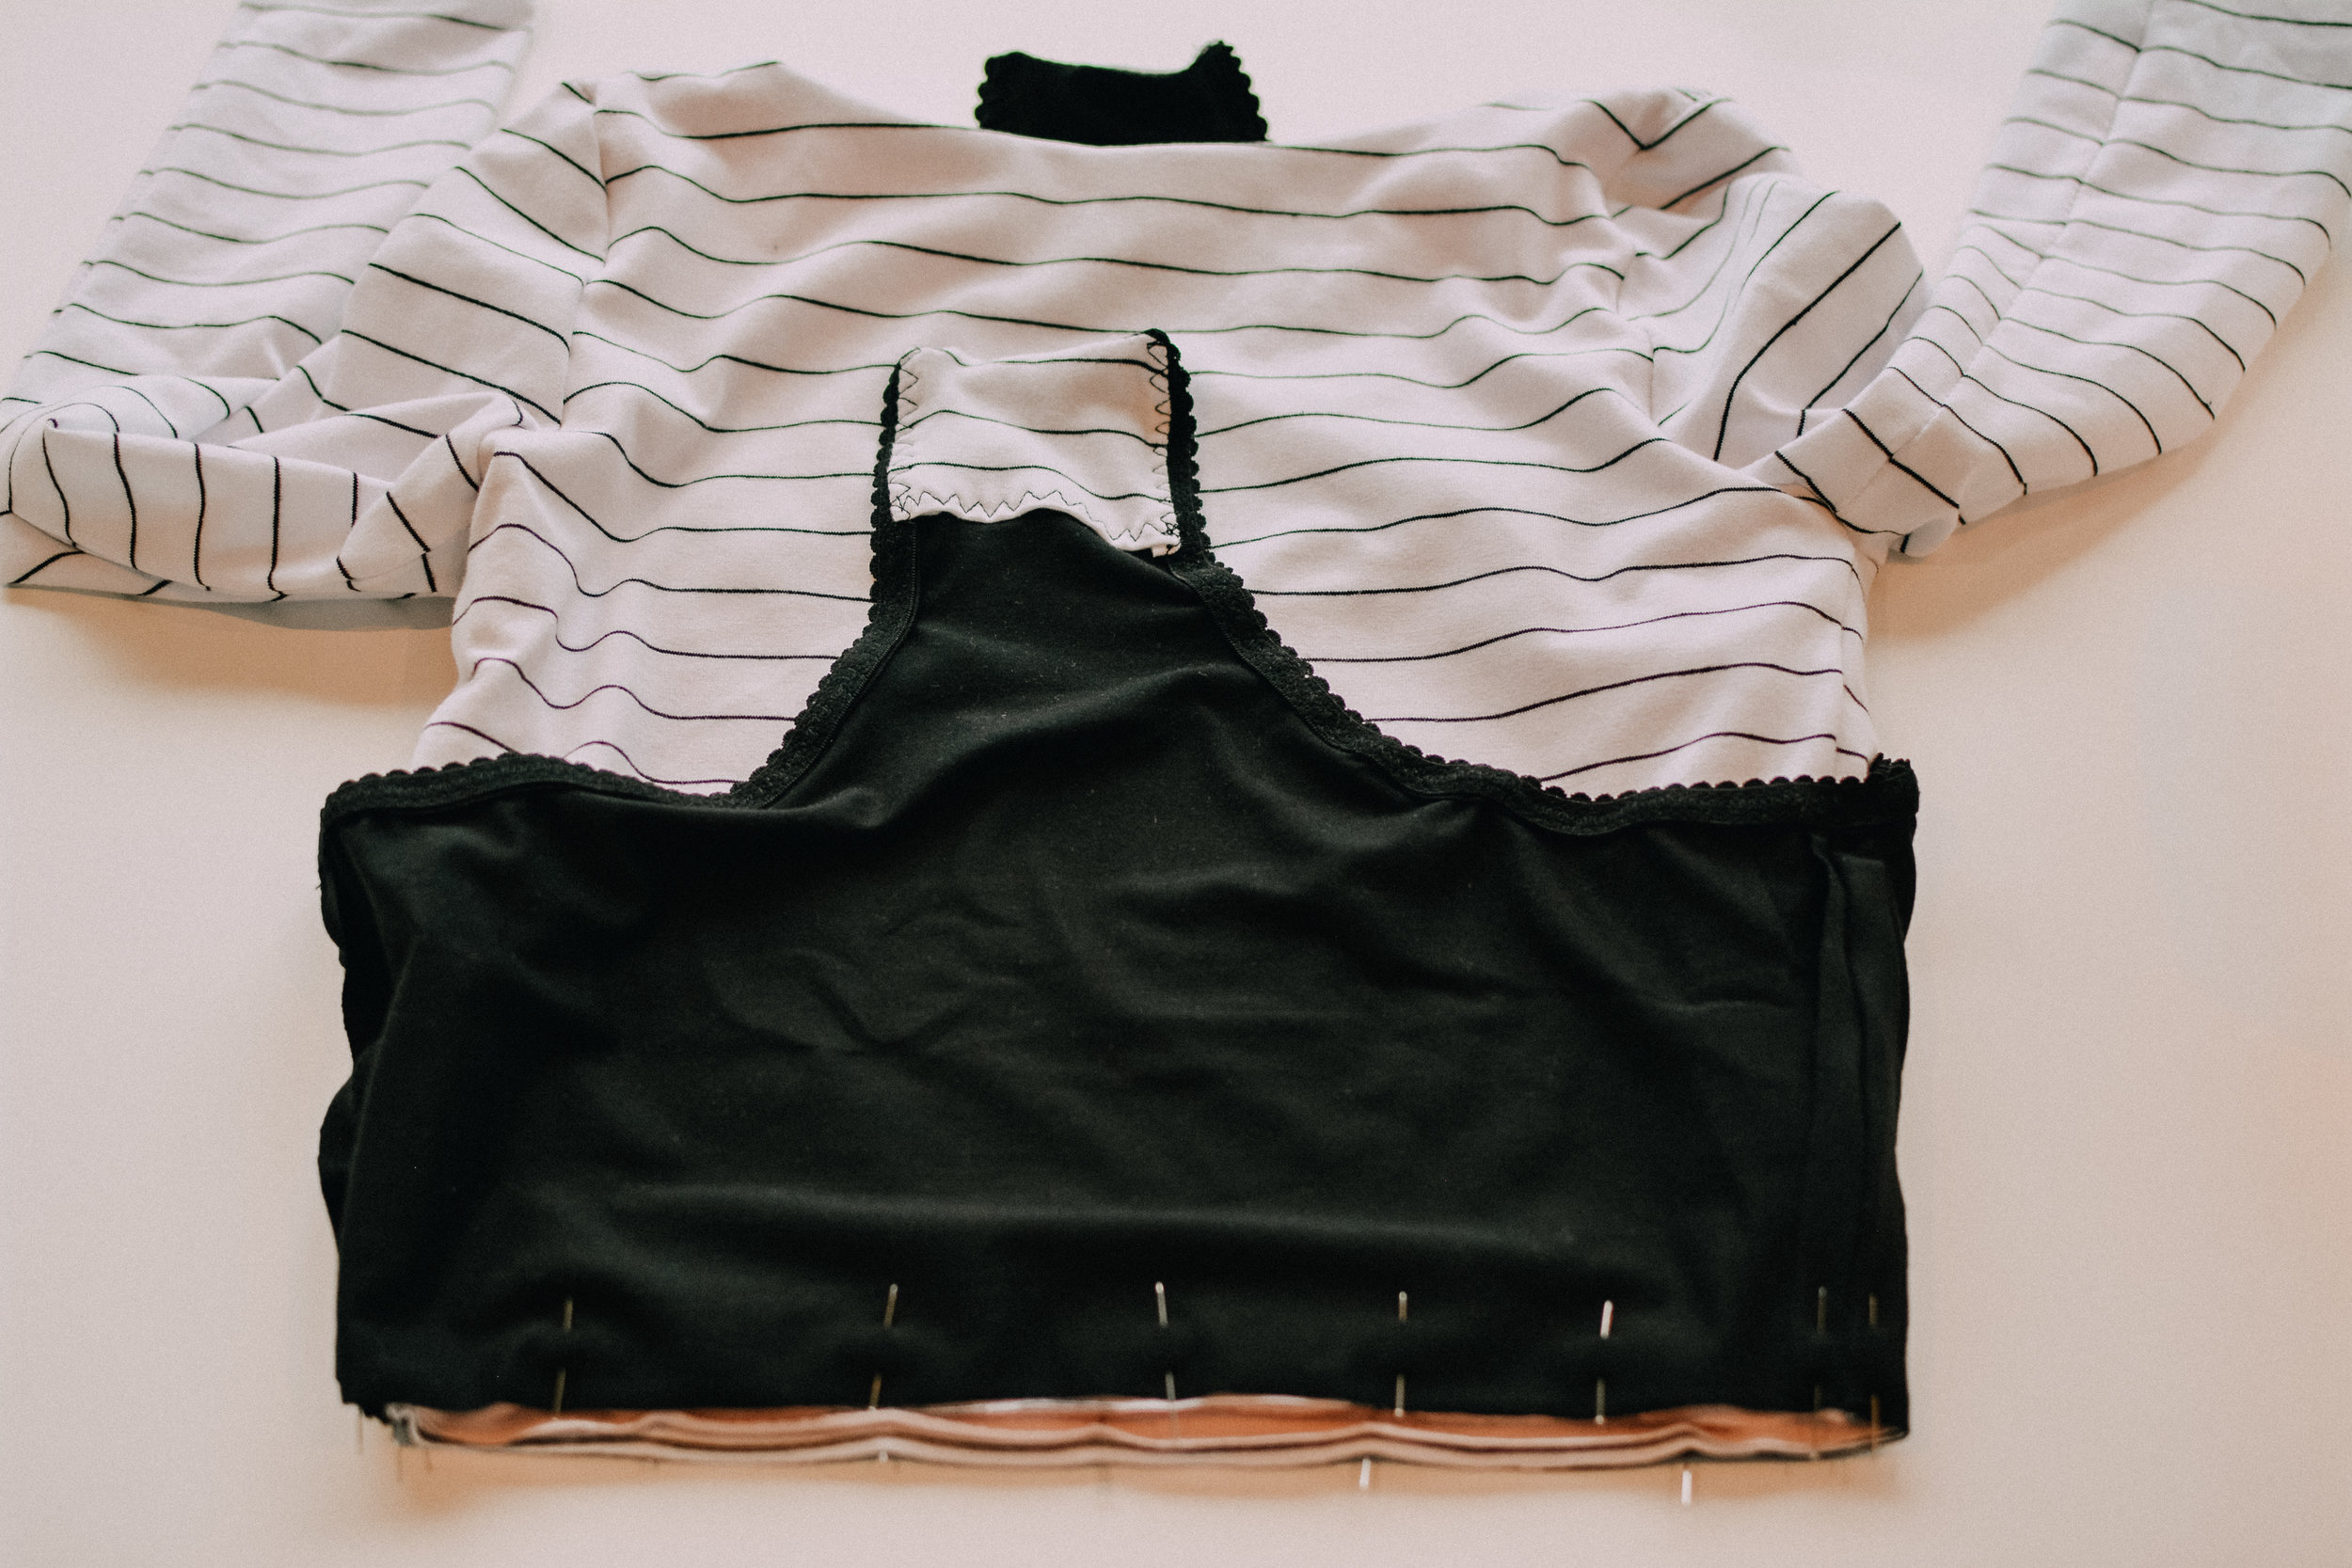
Take the two crotch lining pieces and fold them over 1 cm / 3/8” to the wrong side of the fabric at the top (longer edge, indicated with a notch). Press flat.
With the right side of the bodysuit facing outside, pin the two crotch linings right side to right side in place. Zigzag stitch around the three unfolded edges of the crotch lining with a 5 mm / 1/4” seam allowance as illustrated. Make sure to sew close to the edge (not over the decorative edge of your elastic). Do this for the front and back of the crotch.


Trim down the excess elastic and the cor-ners of the seam allowance to make your bodysuit turn around smoothly. The elastic and the crotch lining are now on the inside of your bodysuit. Only the decorative edge of your elastic should be showing from the right side. Edgestitch the elastic in place along the leg openings using a zigzag stitch. Topstitch over the top edge of your crotch lining as illustrated. All the topstitching is done from the right side of your bodysuit.


YAY, we can see the finish line now! Turn the bottom of your bodysuit around so the wrong side is facing out. Pin it to your top so the right sides are facing each other. Make sure to match up the front side of the top with the front side of the bottom and the same for the back side (let the balance notches guide you). Pin everything in place. Sew around the waist going through all three fabric layers (1.5 cm / 5/8” seam allow-ance).

Press the seam allowance and the bottom away from the top and topstitch parallel to the seam. Make sure to catch the seam allowance underneath.

Sew in 3 snap closures or hooks along the edge of the crotch lining. I overlap the front over the back for about 1-2 cm but it is up to you what you feel most comfortable with: You can overlap it more or less. You can also choose to overlap the back crotch over the front if this is easier for you.

This was my last post in the Belen Bodysuit Sew Along series.
Thank you so much for supporting me! Please share a photo of your bodysuit with me on Instagram with the hashtag #belen-bodysuit and tag me @sewing.masin. I can’t wait to see what you have created.
The fabrics I used to sew up this bodysuit are kindly gifted from A+R Fabrics. Trin has opened up her online fabric shop this year and is stocking the most amazing fabrics, go check it out!