Jeans Alteration: How to size down Denim Jeans at the waist
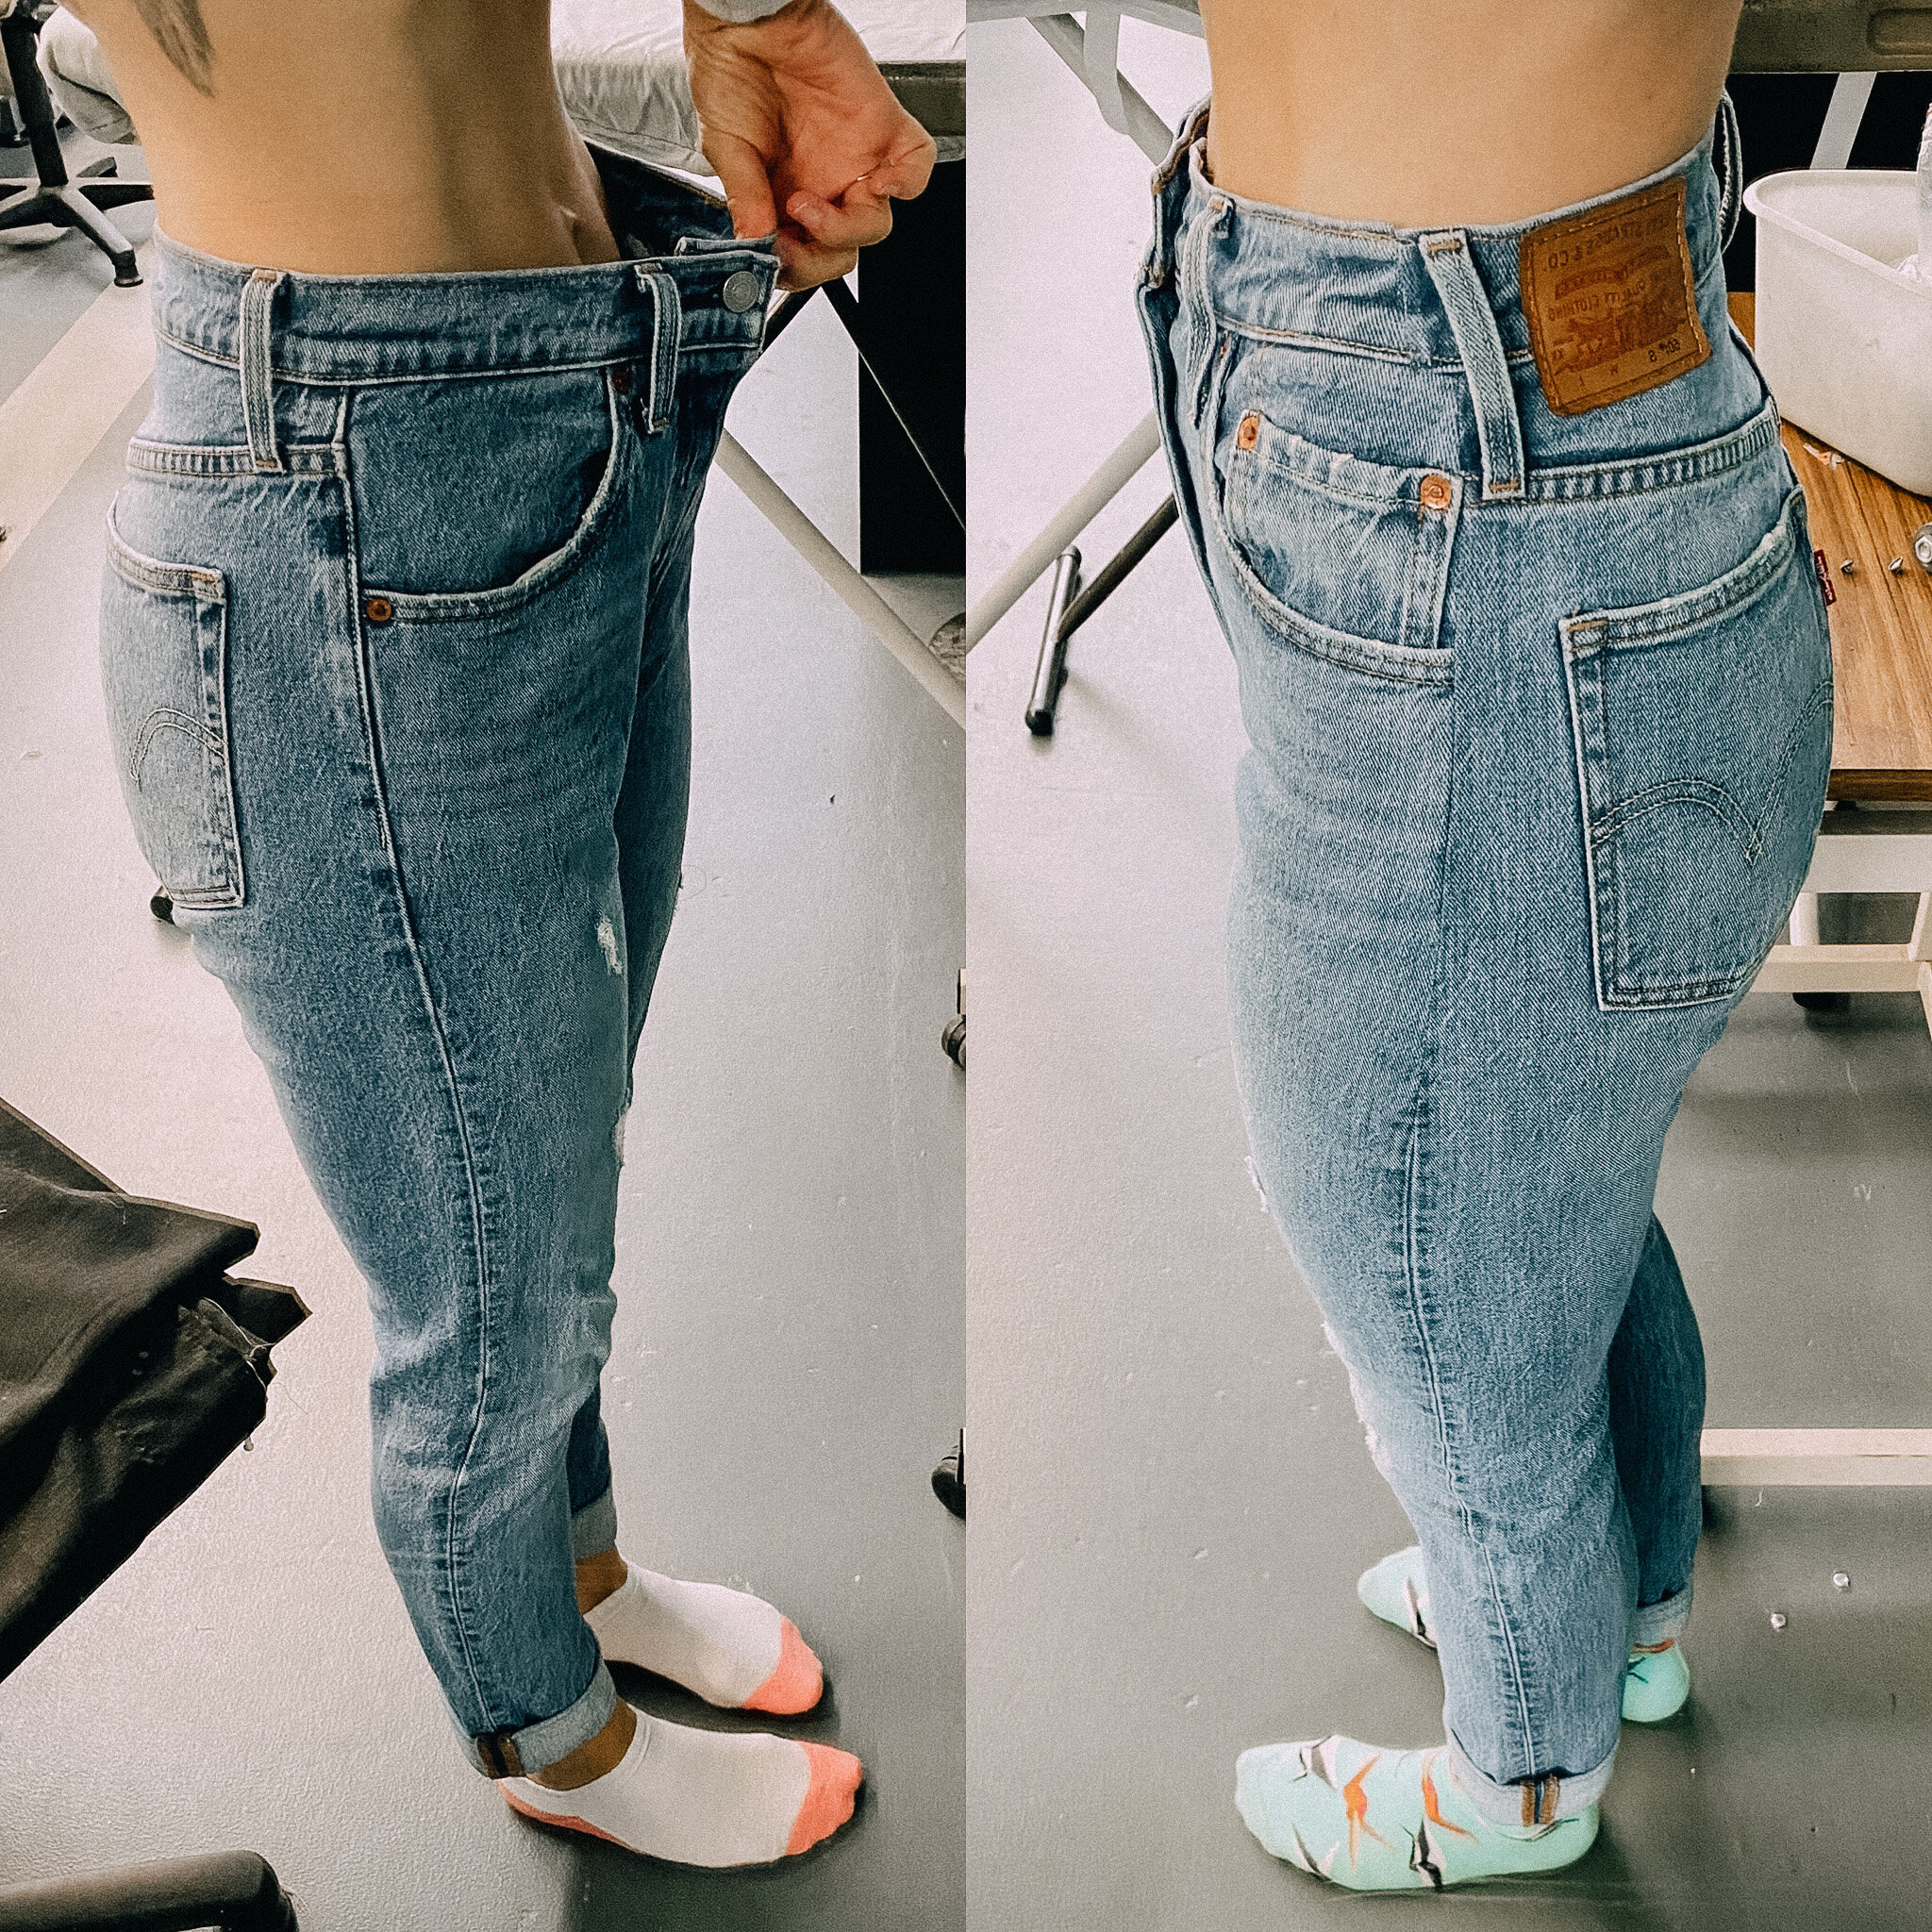
I have never owned a pair of non-stretch jeans that fit my thighs AND my waist until now. My thighs are about two sizes bigger than my waist. Ready to wear jeans that fit my thighs will always be too loose around my waist. Last week, I finally learned how to alter pants to make them fit.
To sew thick layers of denim, it is recommended to use a thicker denim needle for your sewing machine.
PIN
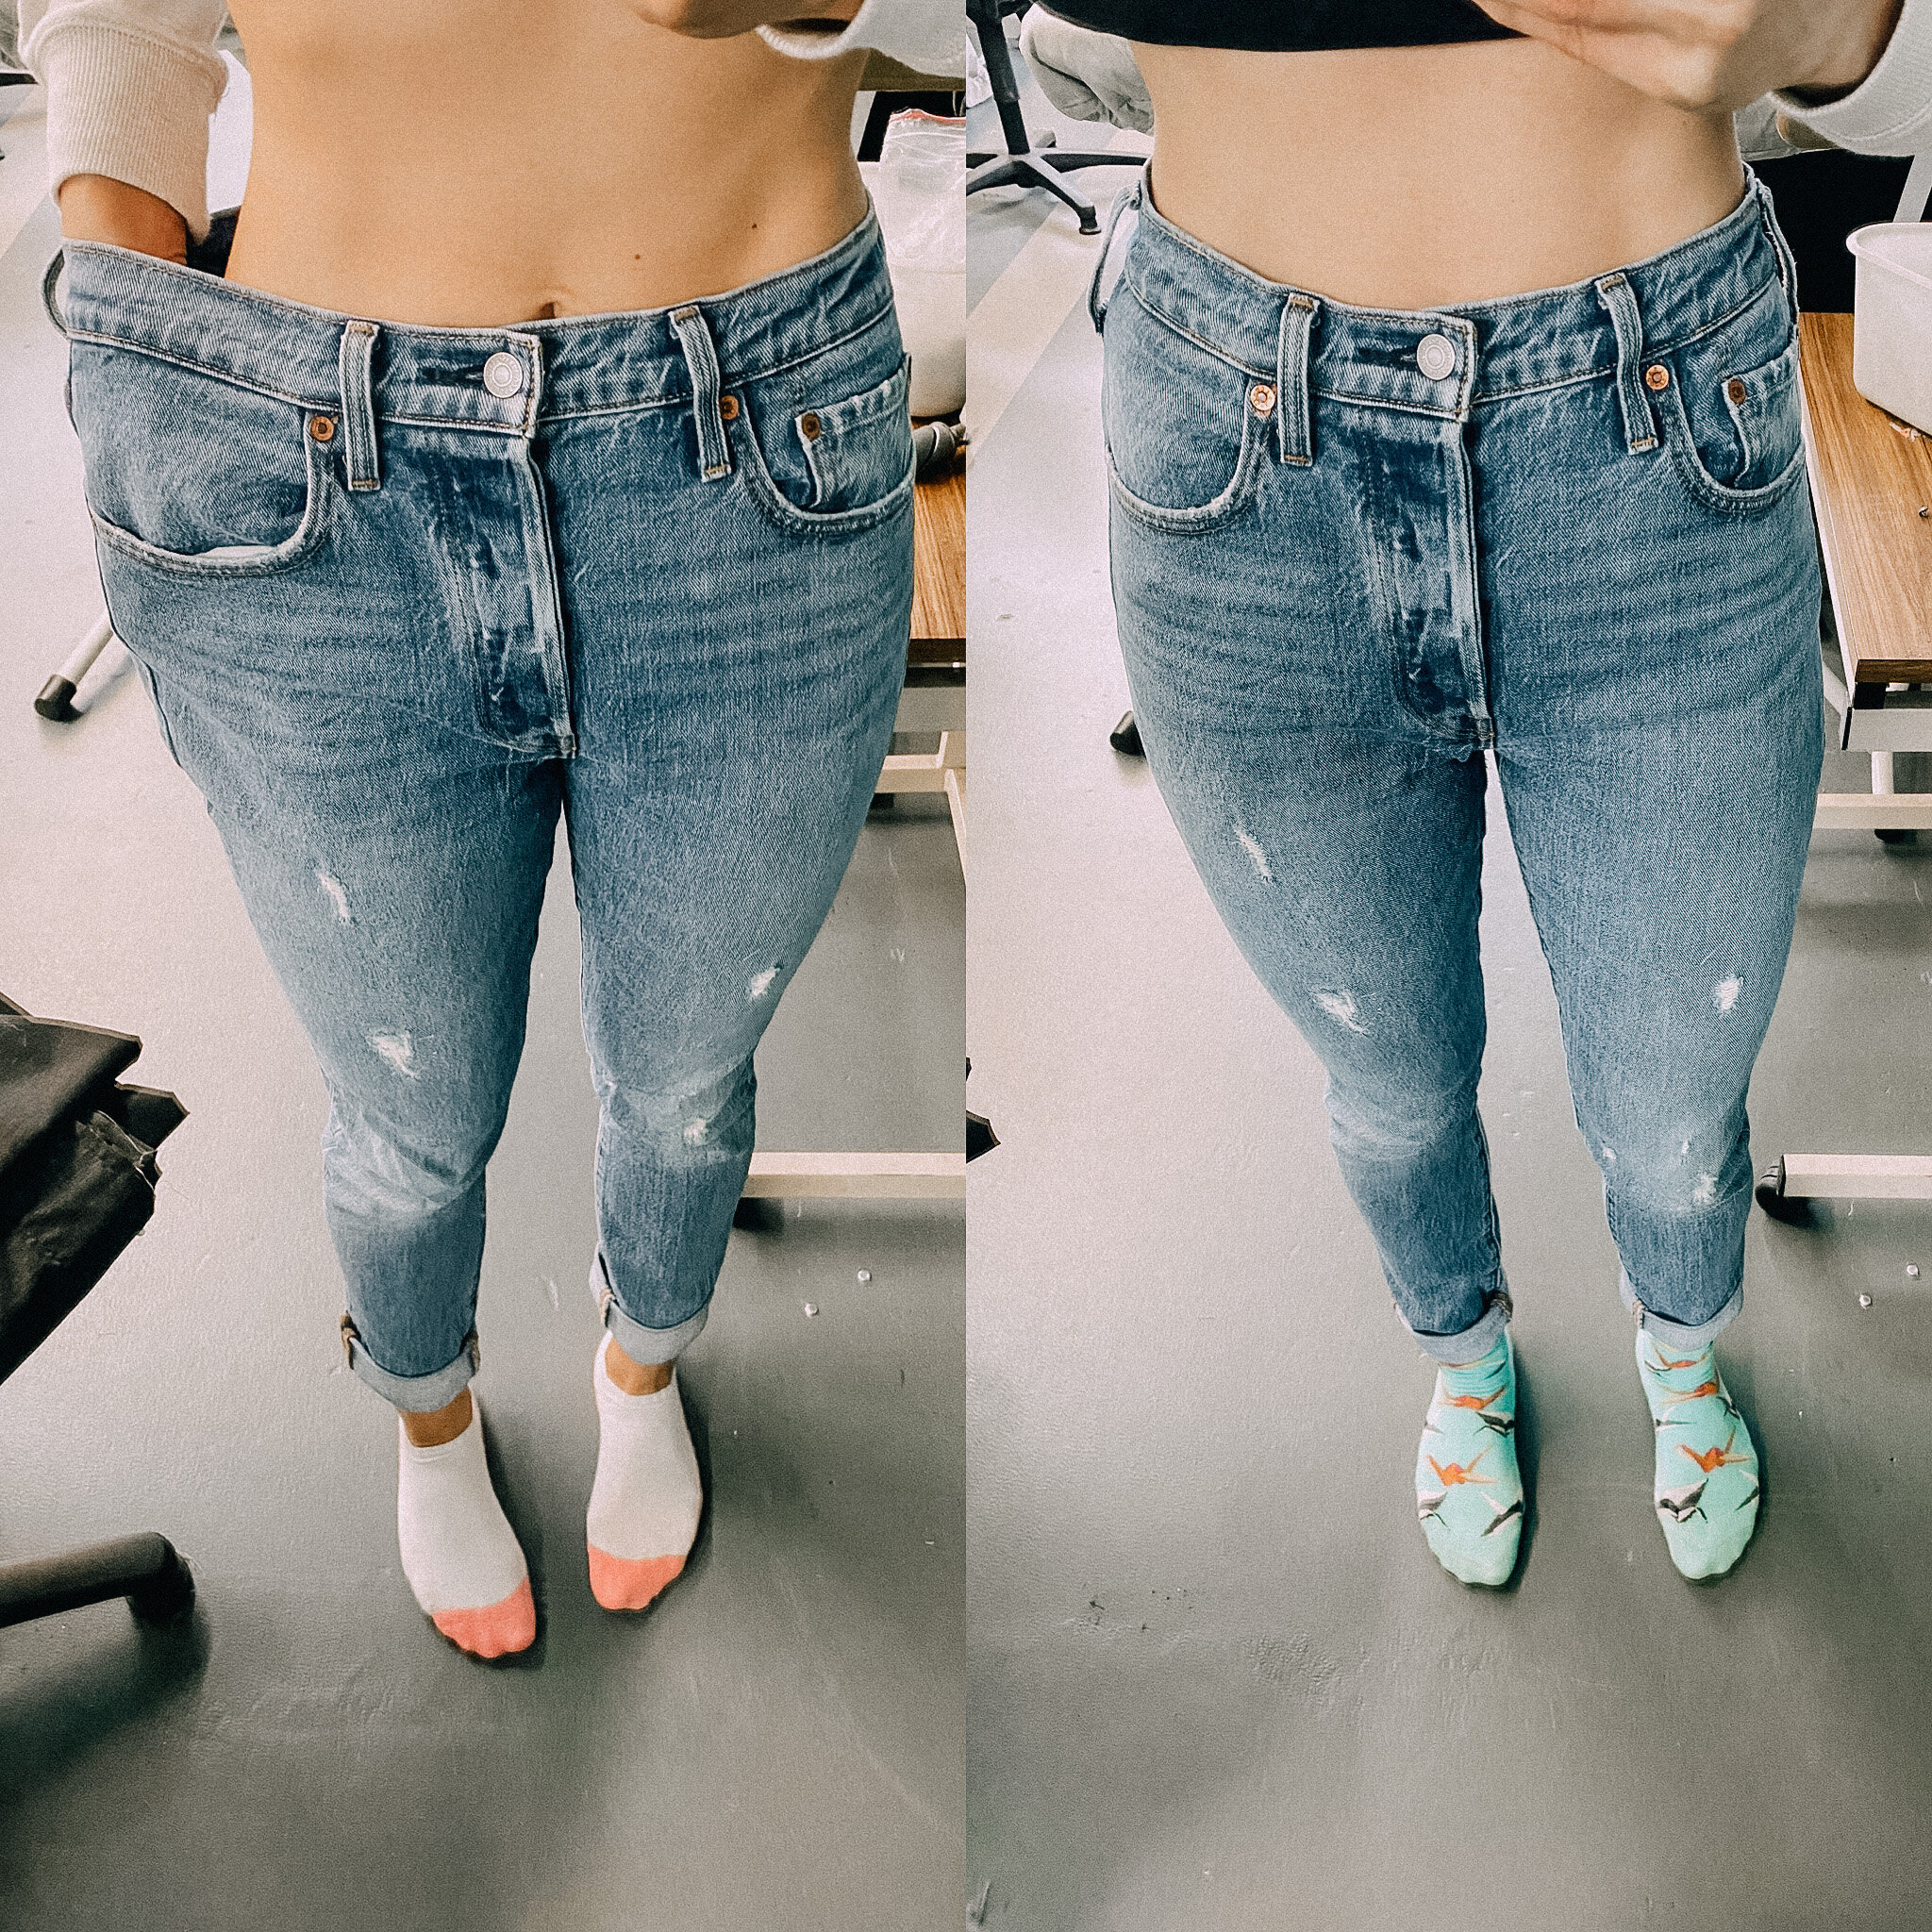
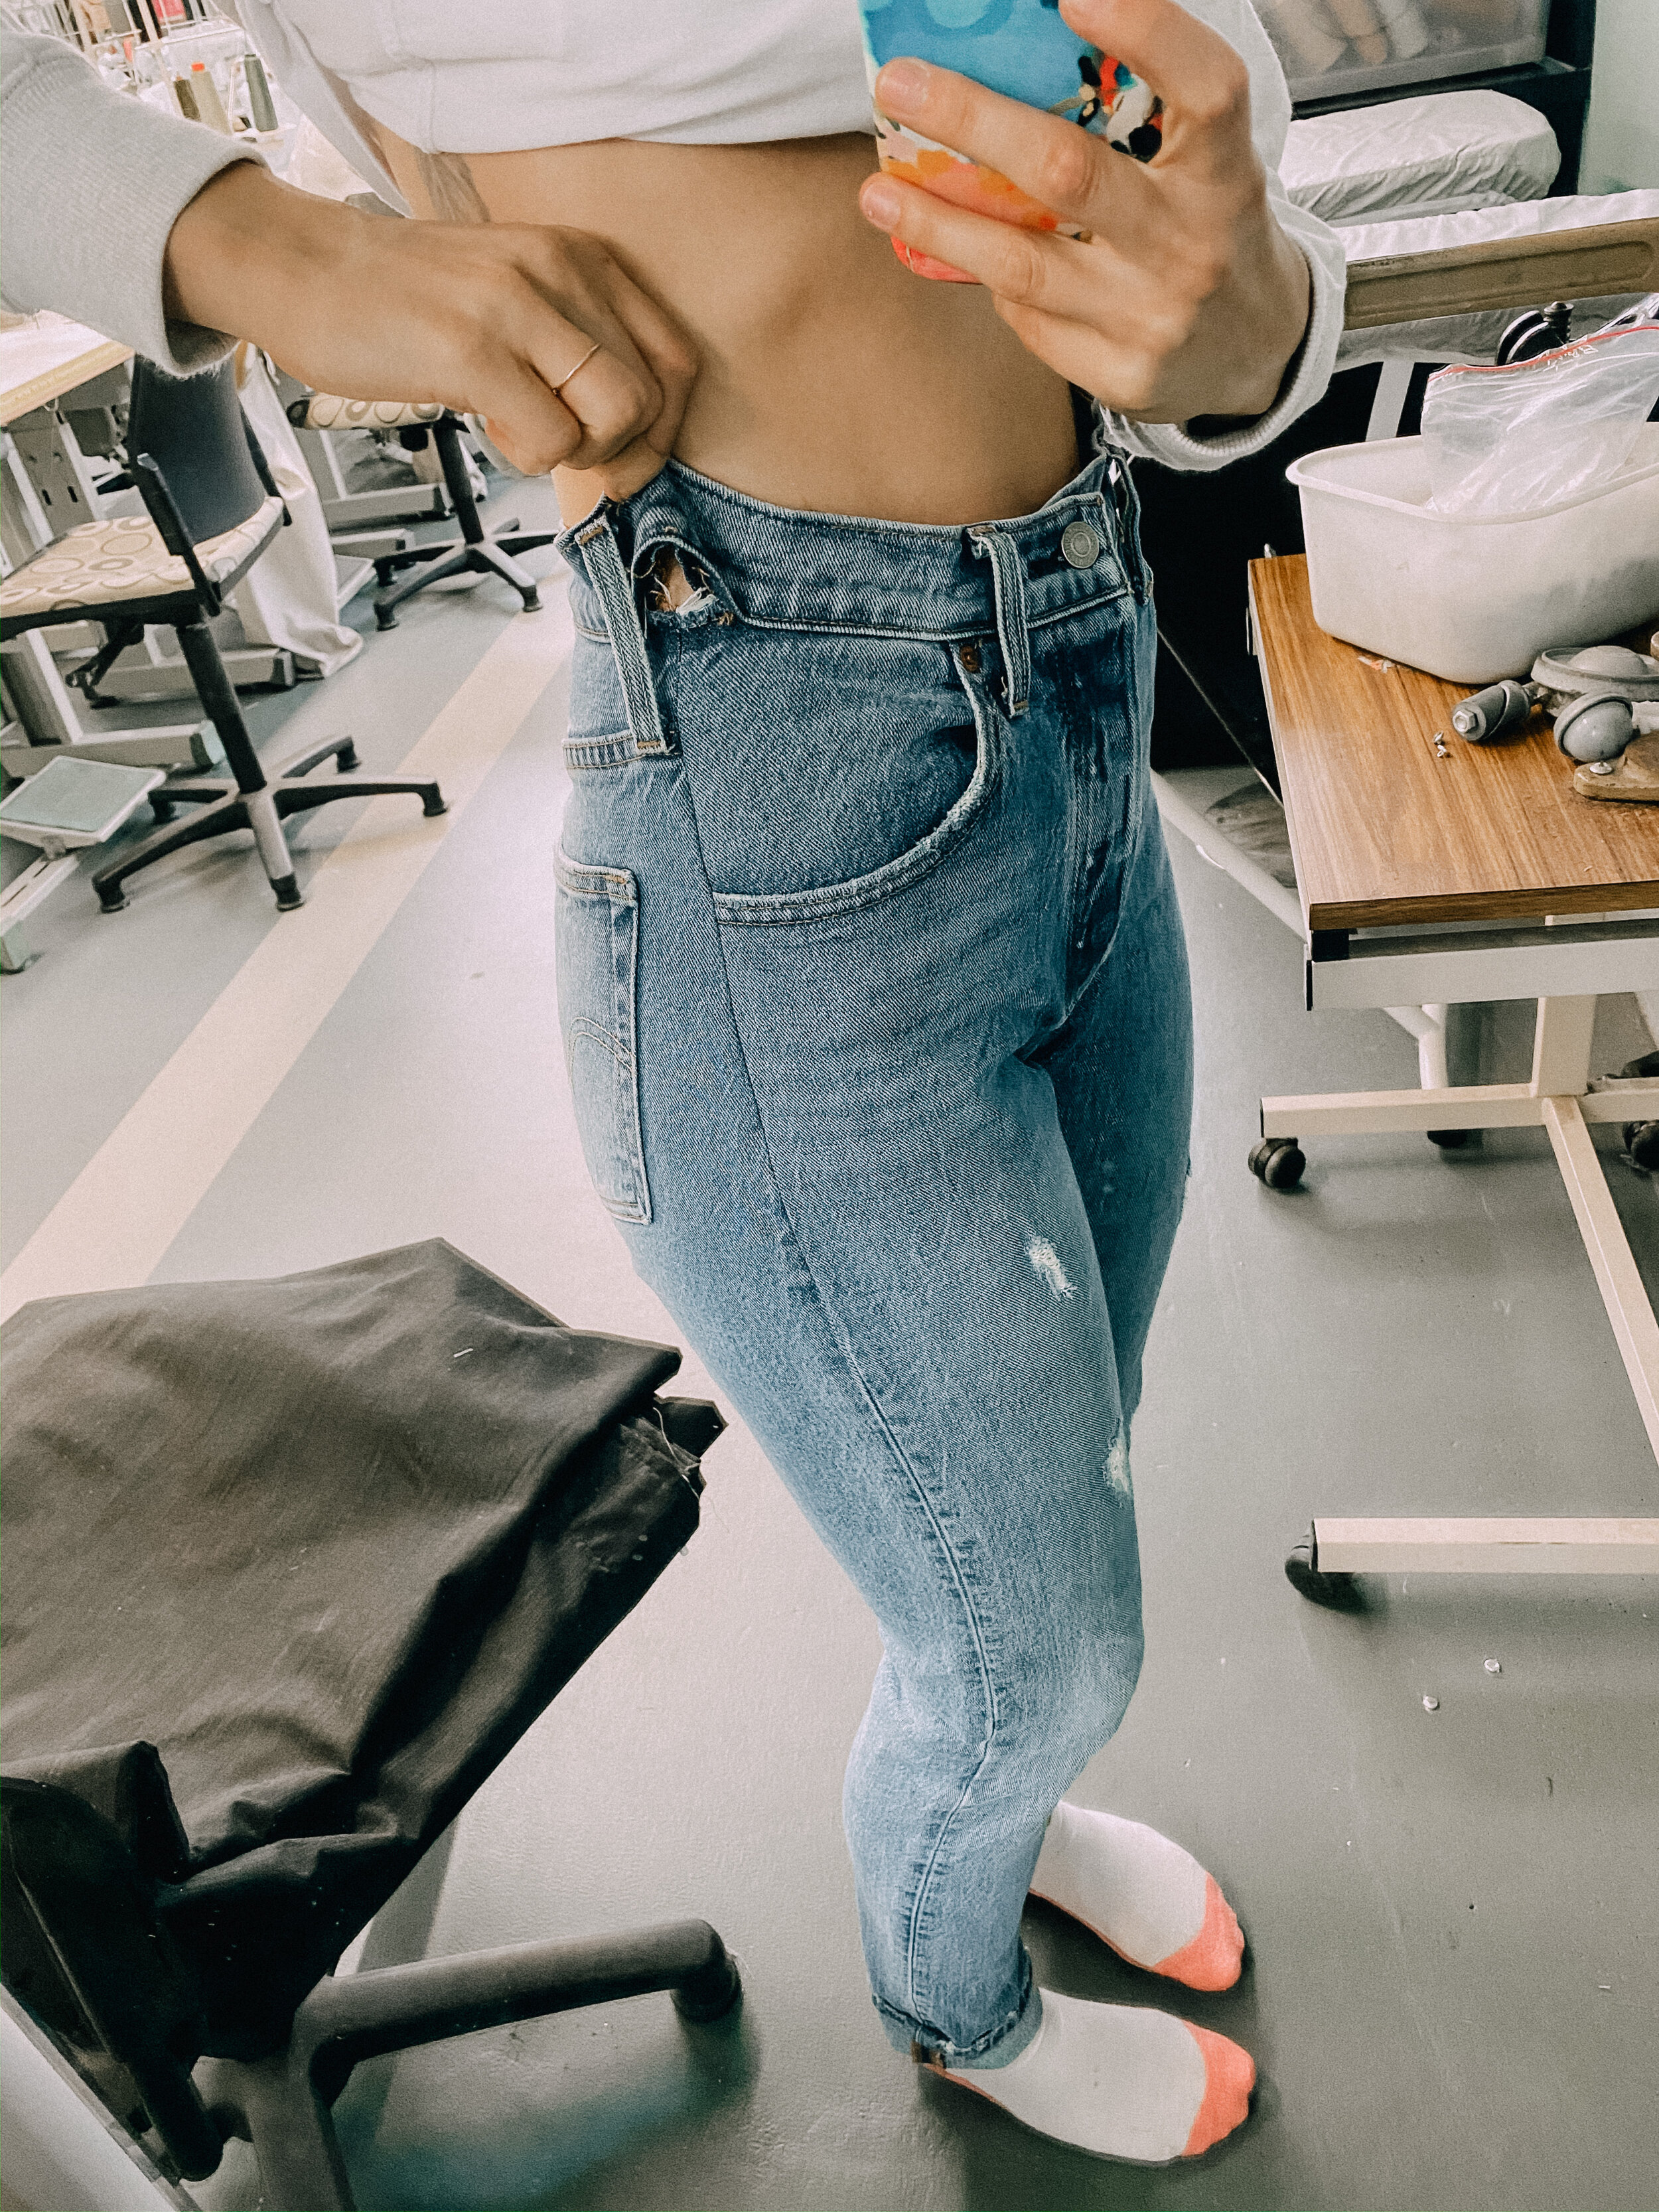
First, put on your jeans and pin them at the waist and hip the way you want them to fit it the end. Make sure to pinch out even amounts on both sides. It is much easier to do this step as a team, if possible ask someone to pin the pants for you so you can stand up straight.
You can also wear your pants inside out whilst pinning, both methods work.
2. UNPICK

Measure how much fabric you pinched out on either side of the waist. In my case it was 2.5 cm / 1 inch on each side, so 10 cm / 4 inches in total.
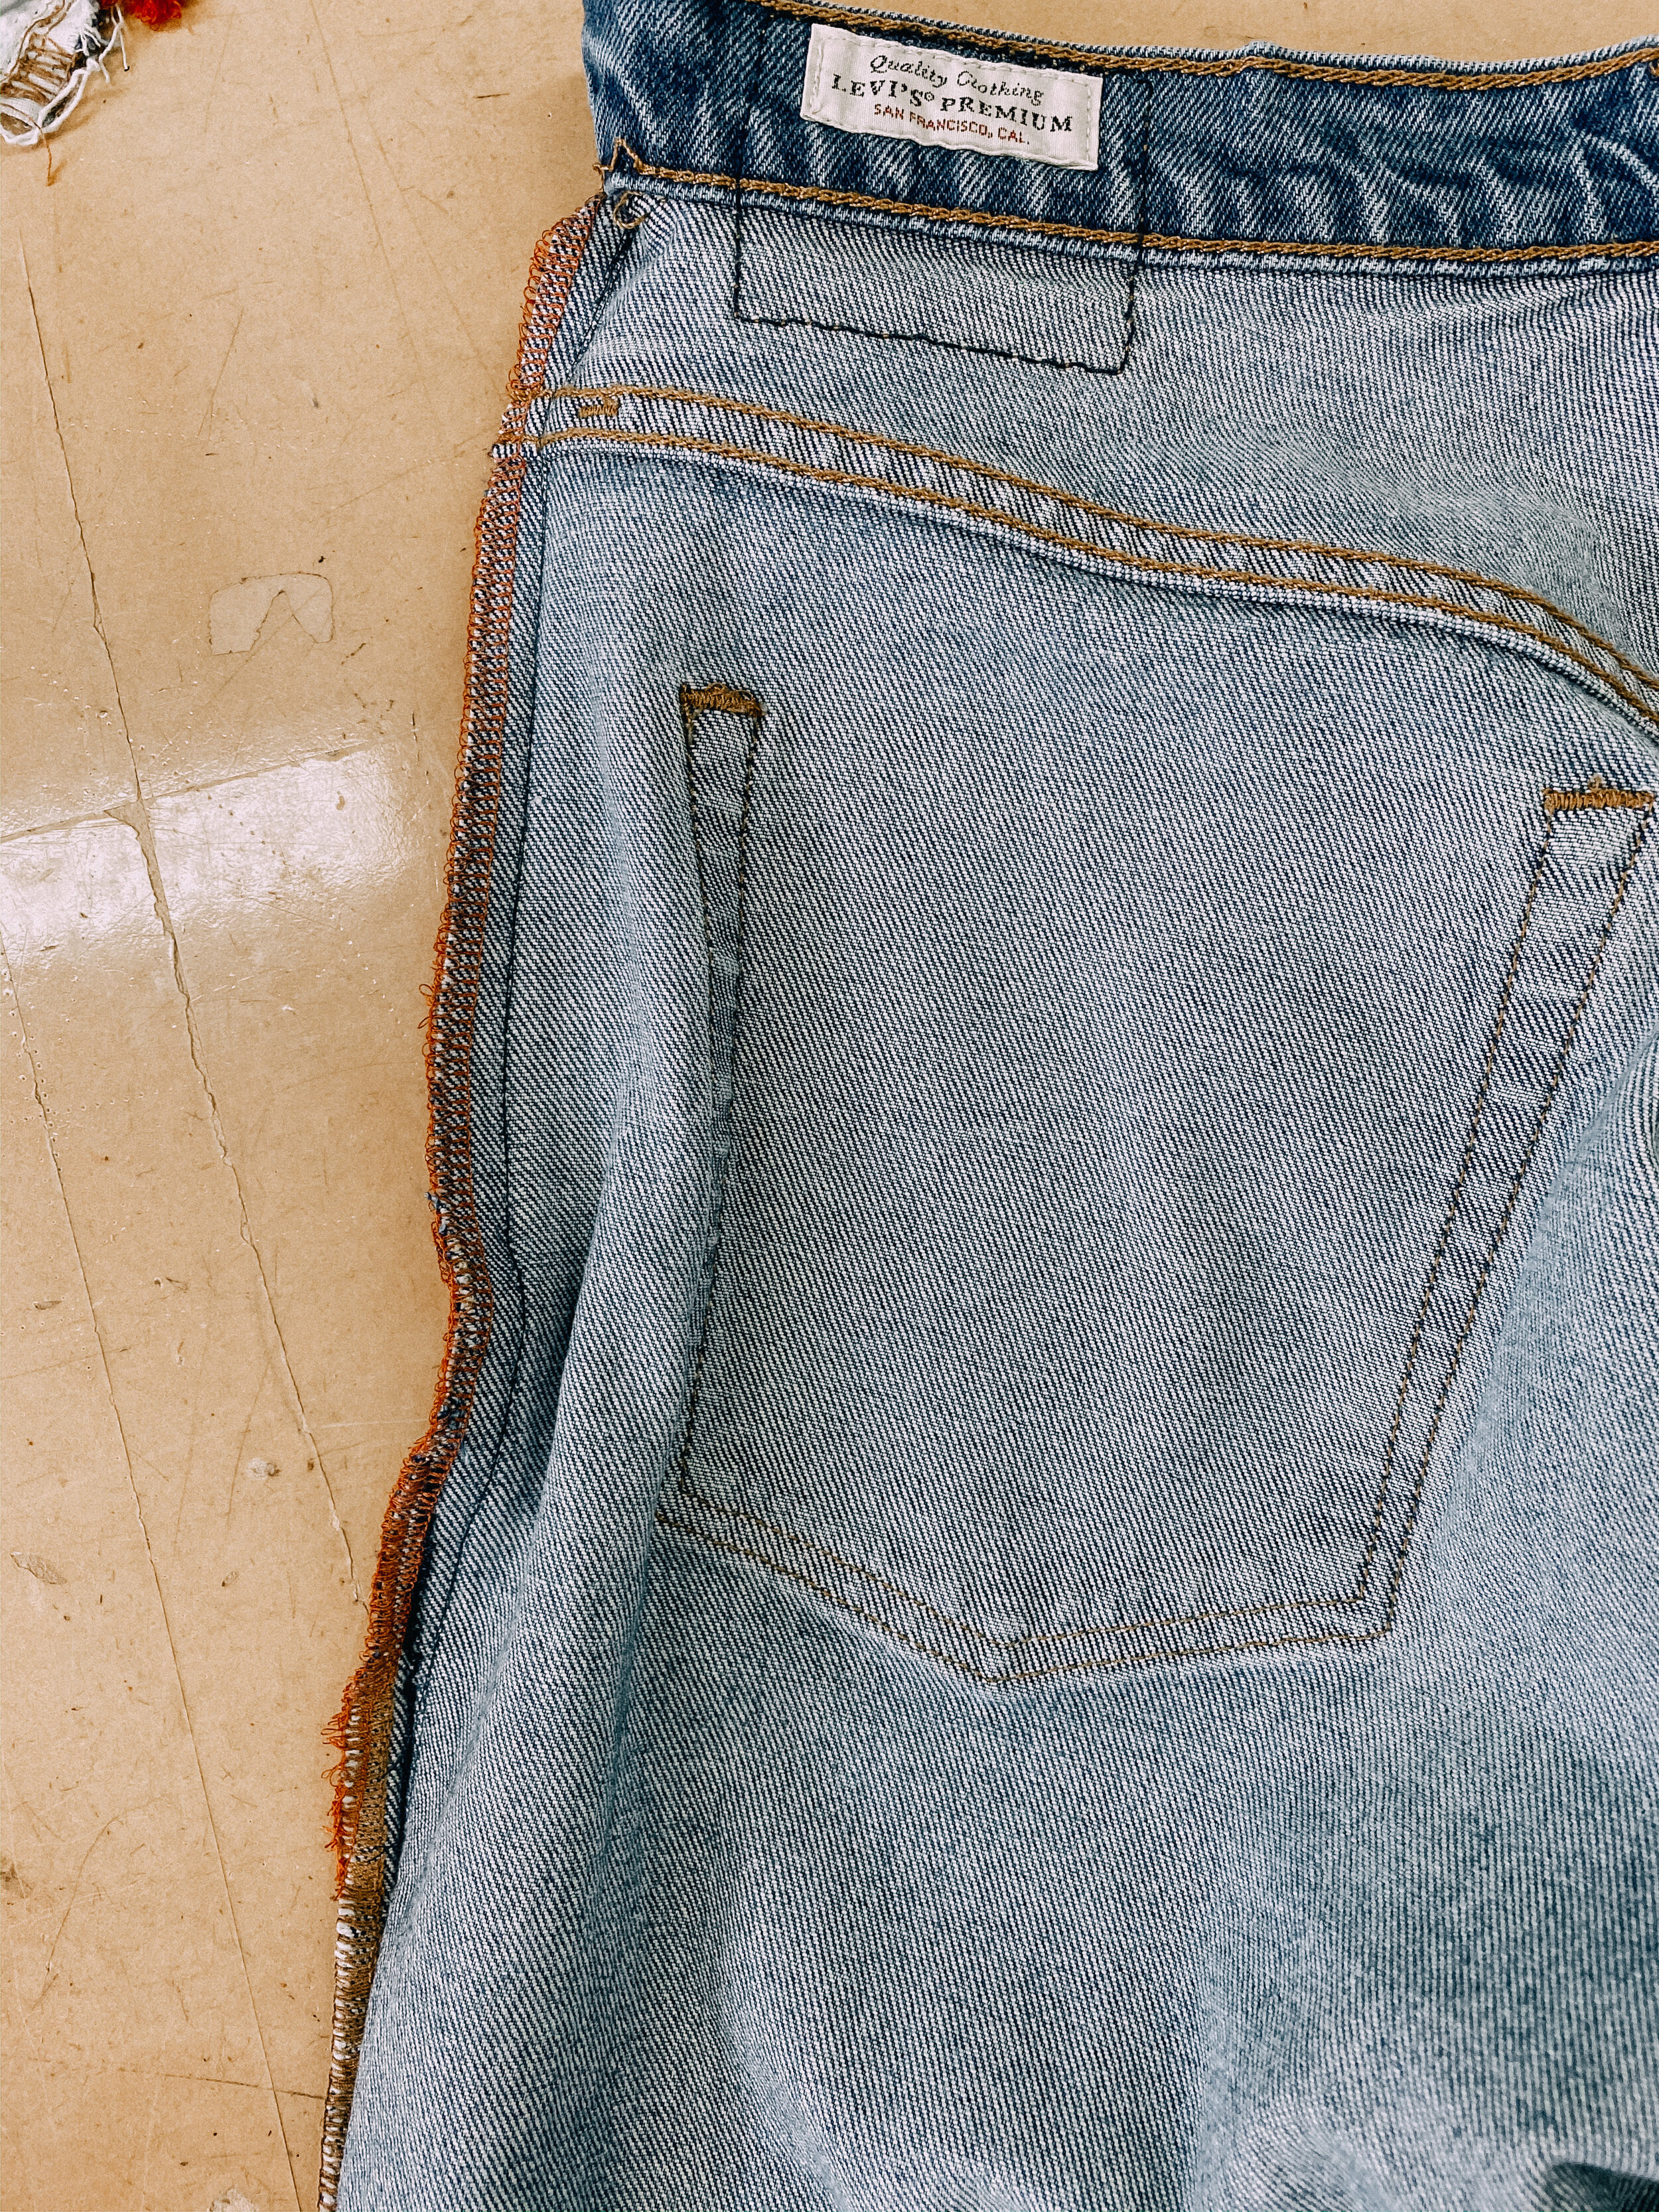
Now, unpick the side seam down 22 cm / 8.5 inches from the waistband. I also unpicked the waistband 7.5 cm / 3 inches to either side of the side seam.
I left the overlocking on as I was going to cut it off later anyway.
3. CUT
As mentioned in the step before, I pinched out 2.5 cm / 1 inch on either side of the waist and blended it back into the existing side seam over 22 cm / 8.5 inches down from the waist.
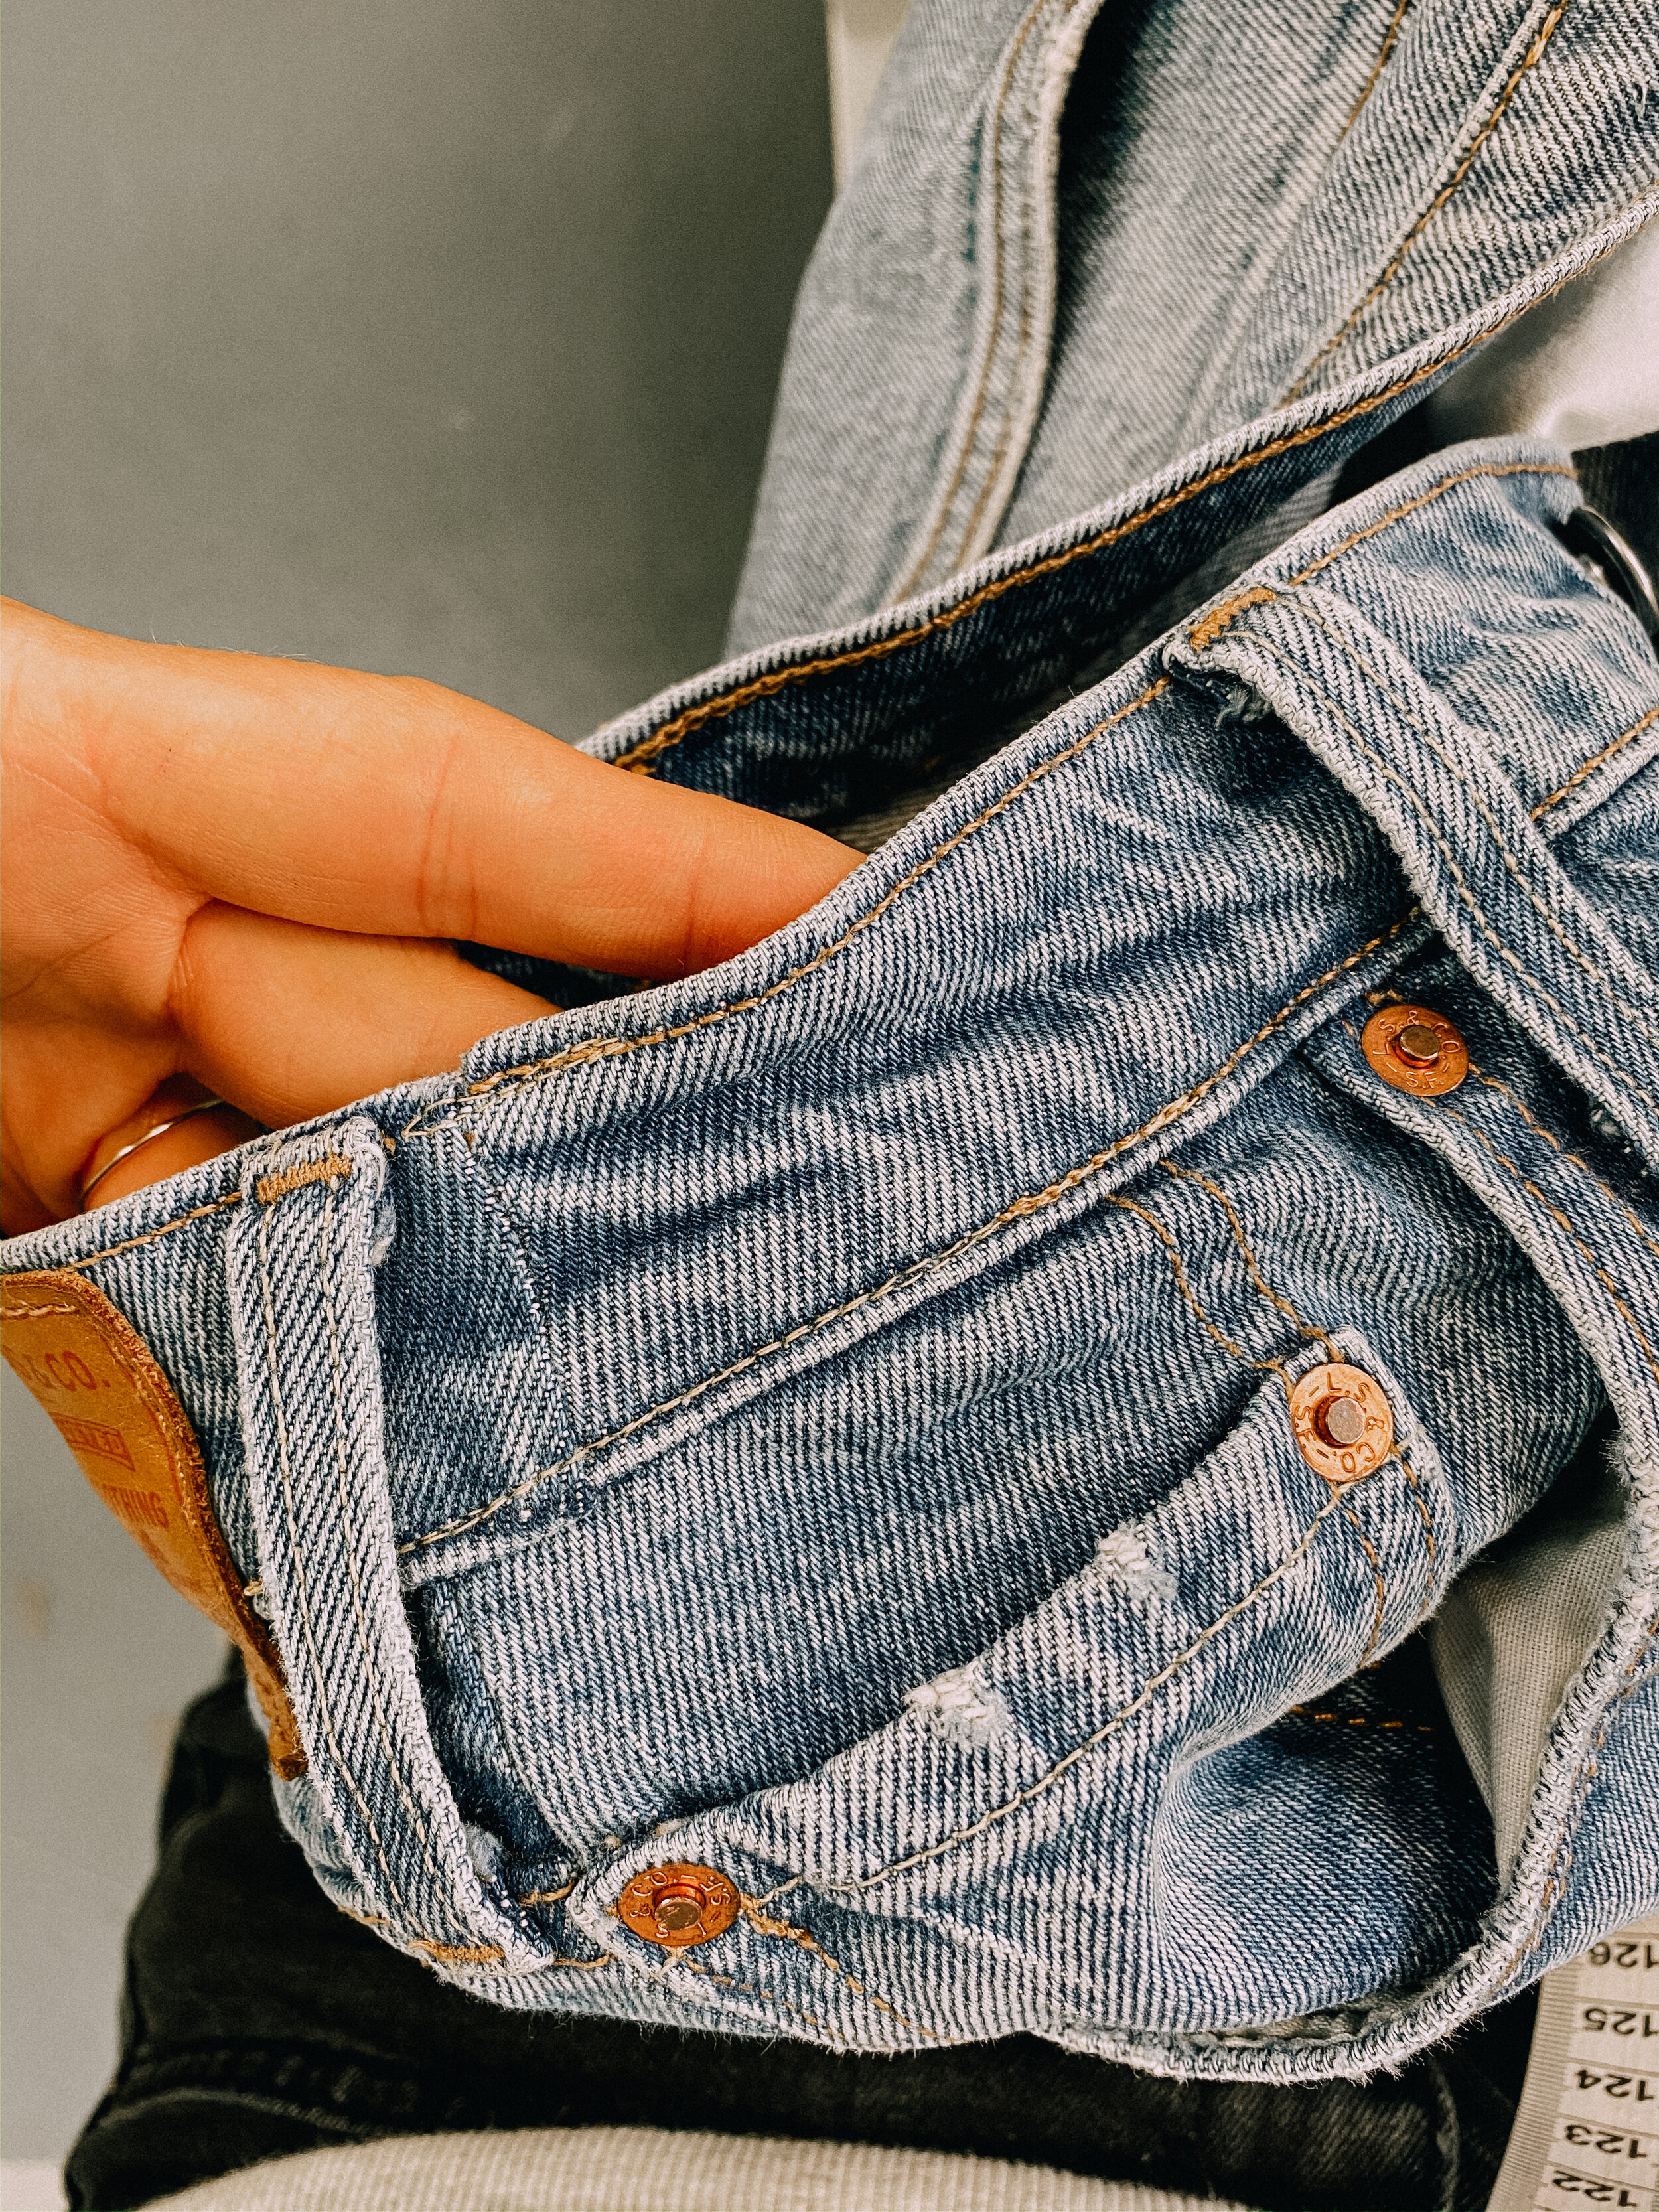
Turn your jeans inside out and mark the new side seam with a fabric pen. Be aware that you will not be able to sew over the metal studs nor be able to take them out without the right tools. It worked out very well in my case as they were not directly on my stitching line.
Leave out the waistband for now, we are going to tackle it at the very end.

Once you are happy with your line, add 1cm / 3/8 inches seam allowance and cut off the excess fabric on either side of your jeans.
I prefer cutting before sewing so I can finish the raw edges individually before pressing them open.
4. SEW
Overlock or zigzag your raw edges. Then pin your side seams and sew the seam with a straight stitch and a 1cm / 3/8 inches seam allowance.
Press seams open.
5. TRY ON
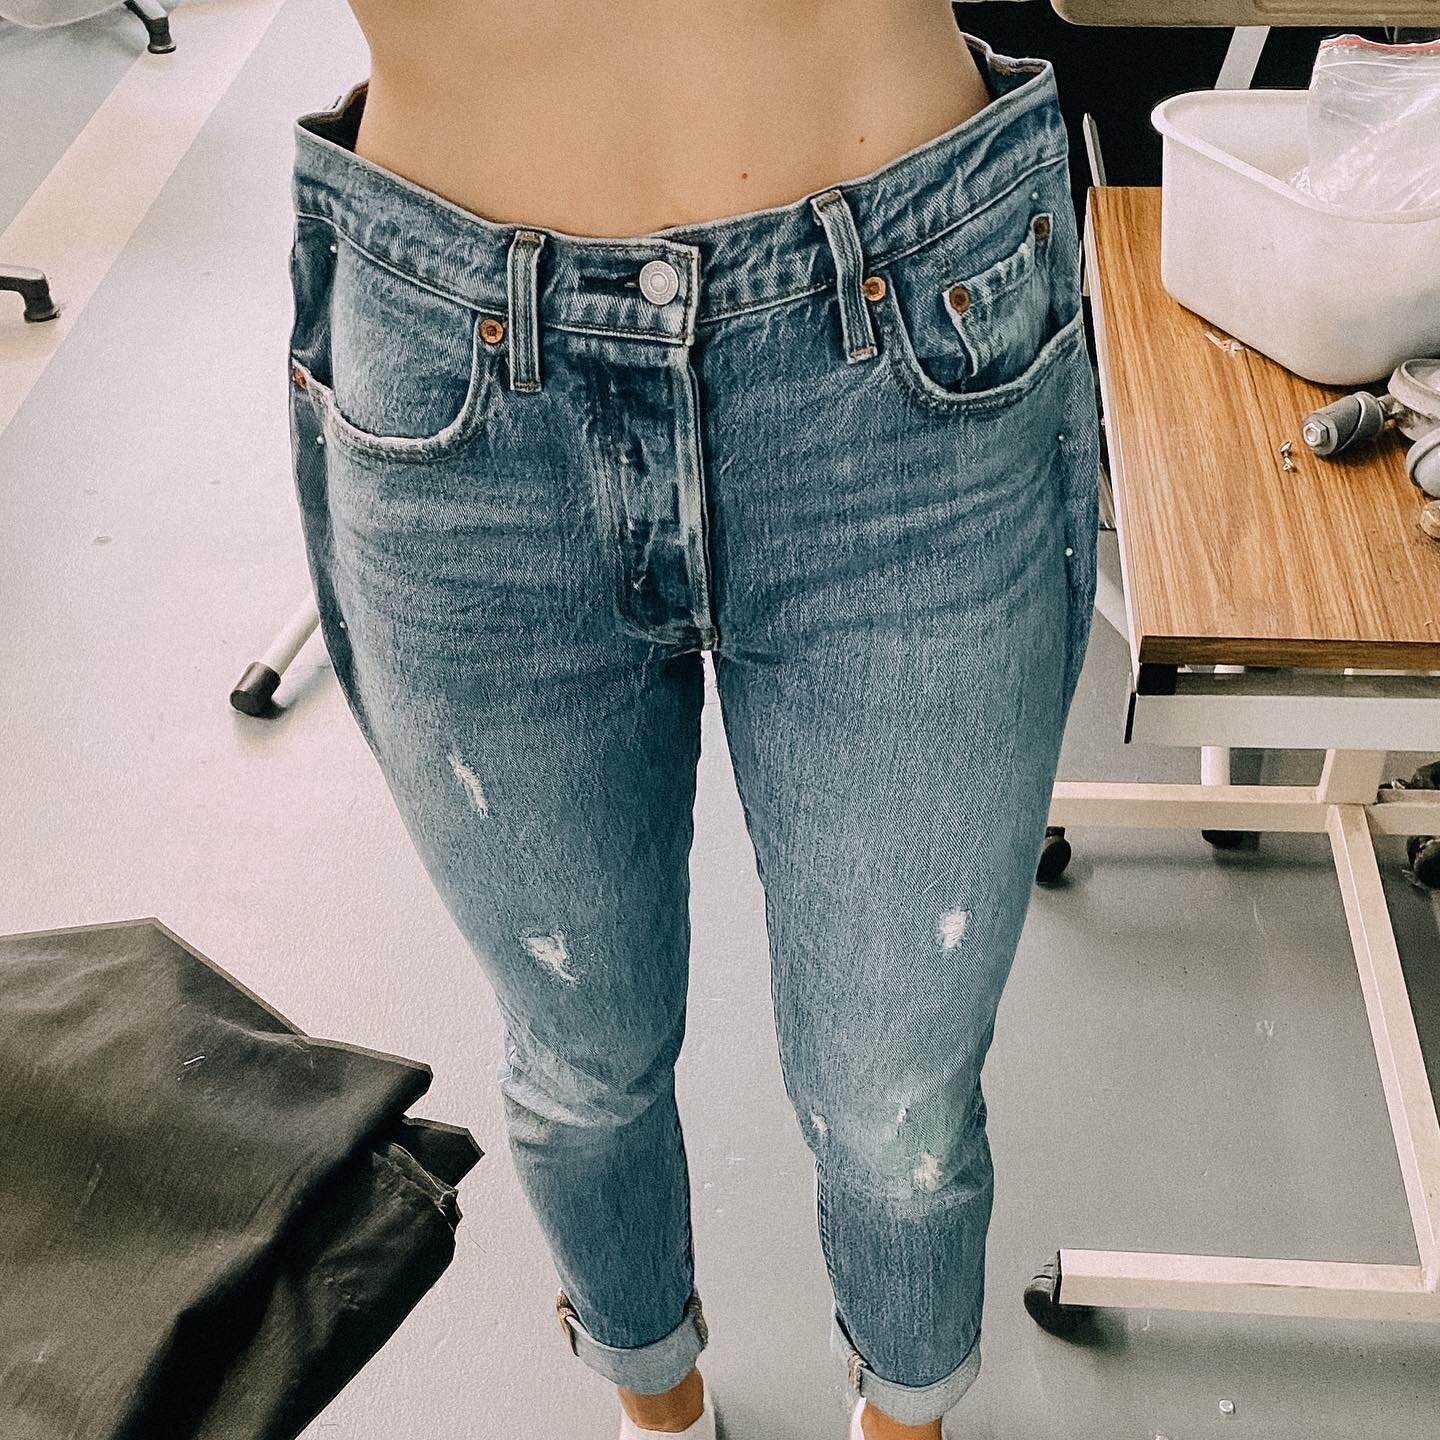
Now it is time to try on your pair of jeans and evaluate the fit. The waistband will still be loose at this stage.
If you are not quite happy with the fit you might consider doing your side seams again. My jeans fitted like a glove when I tried them on, so I went on to continue with the waistband.
6. FINISH

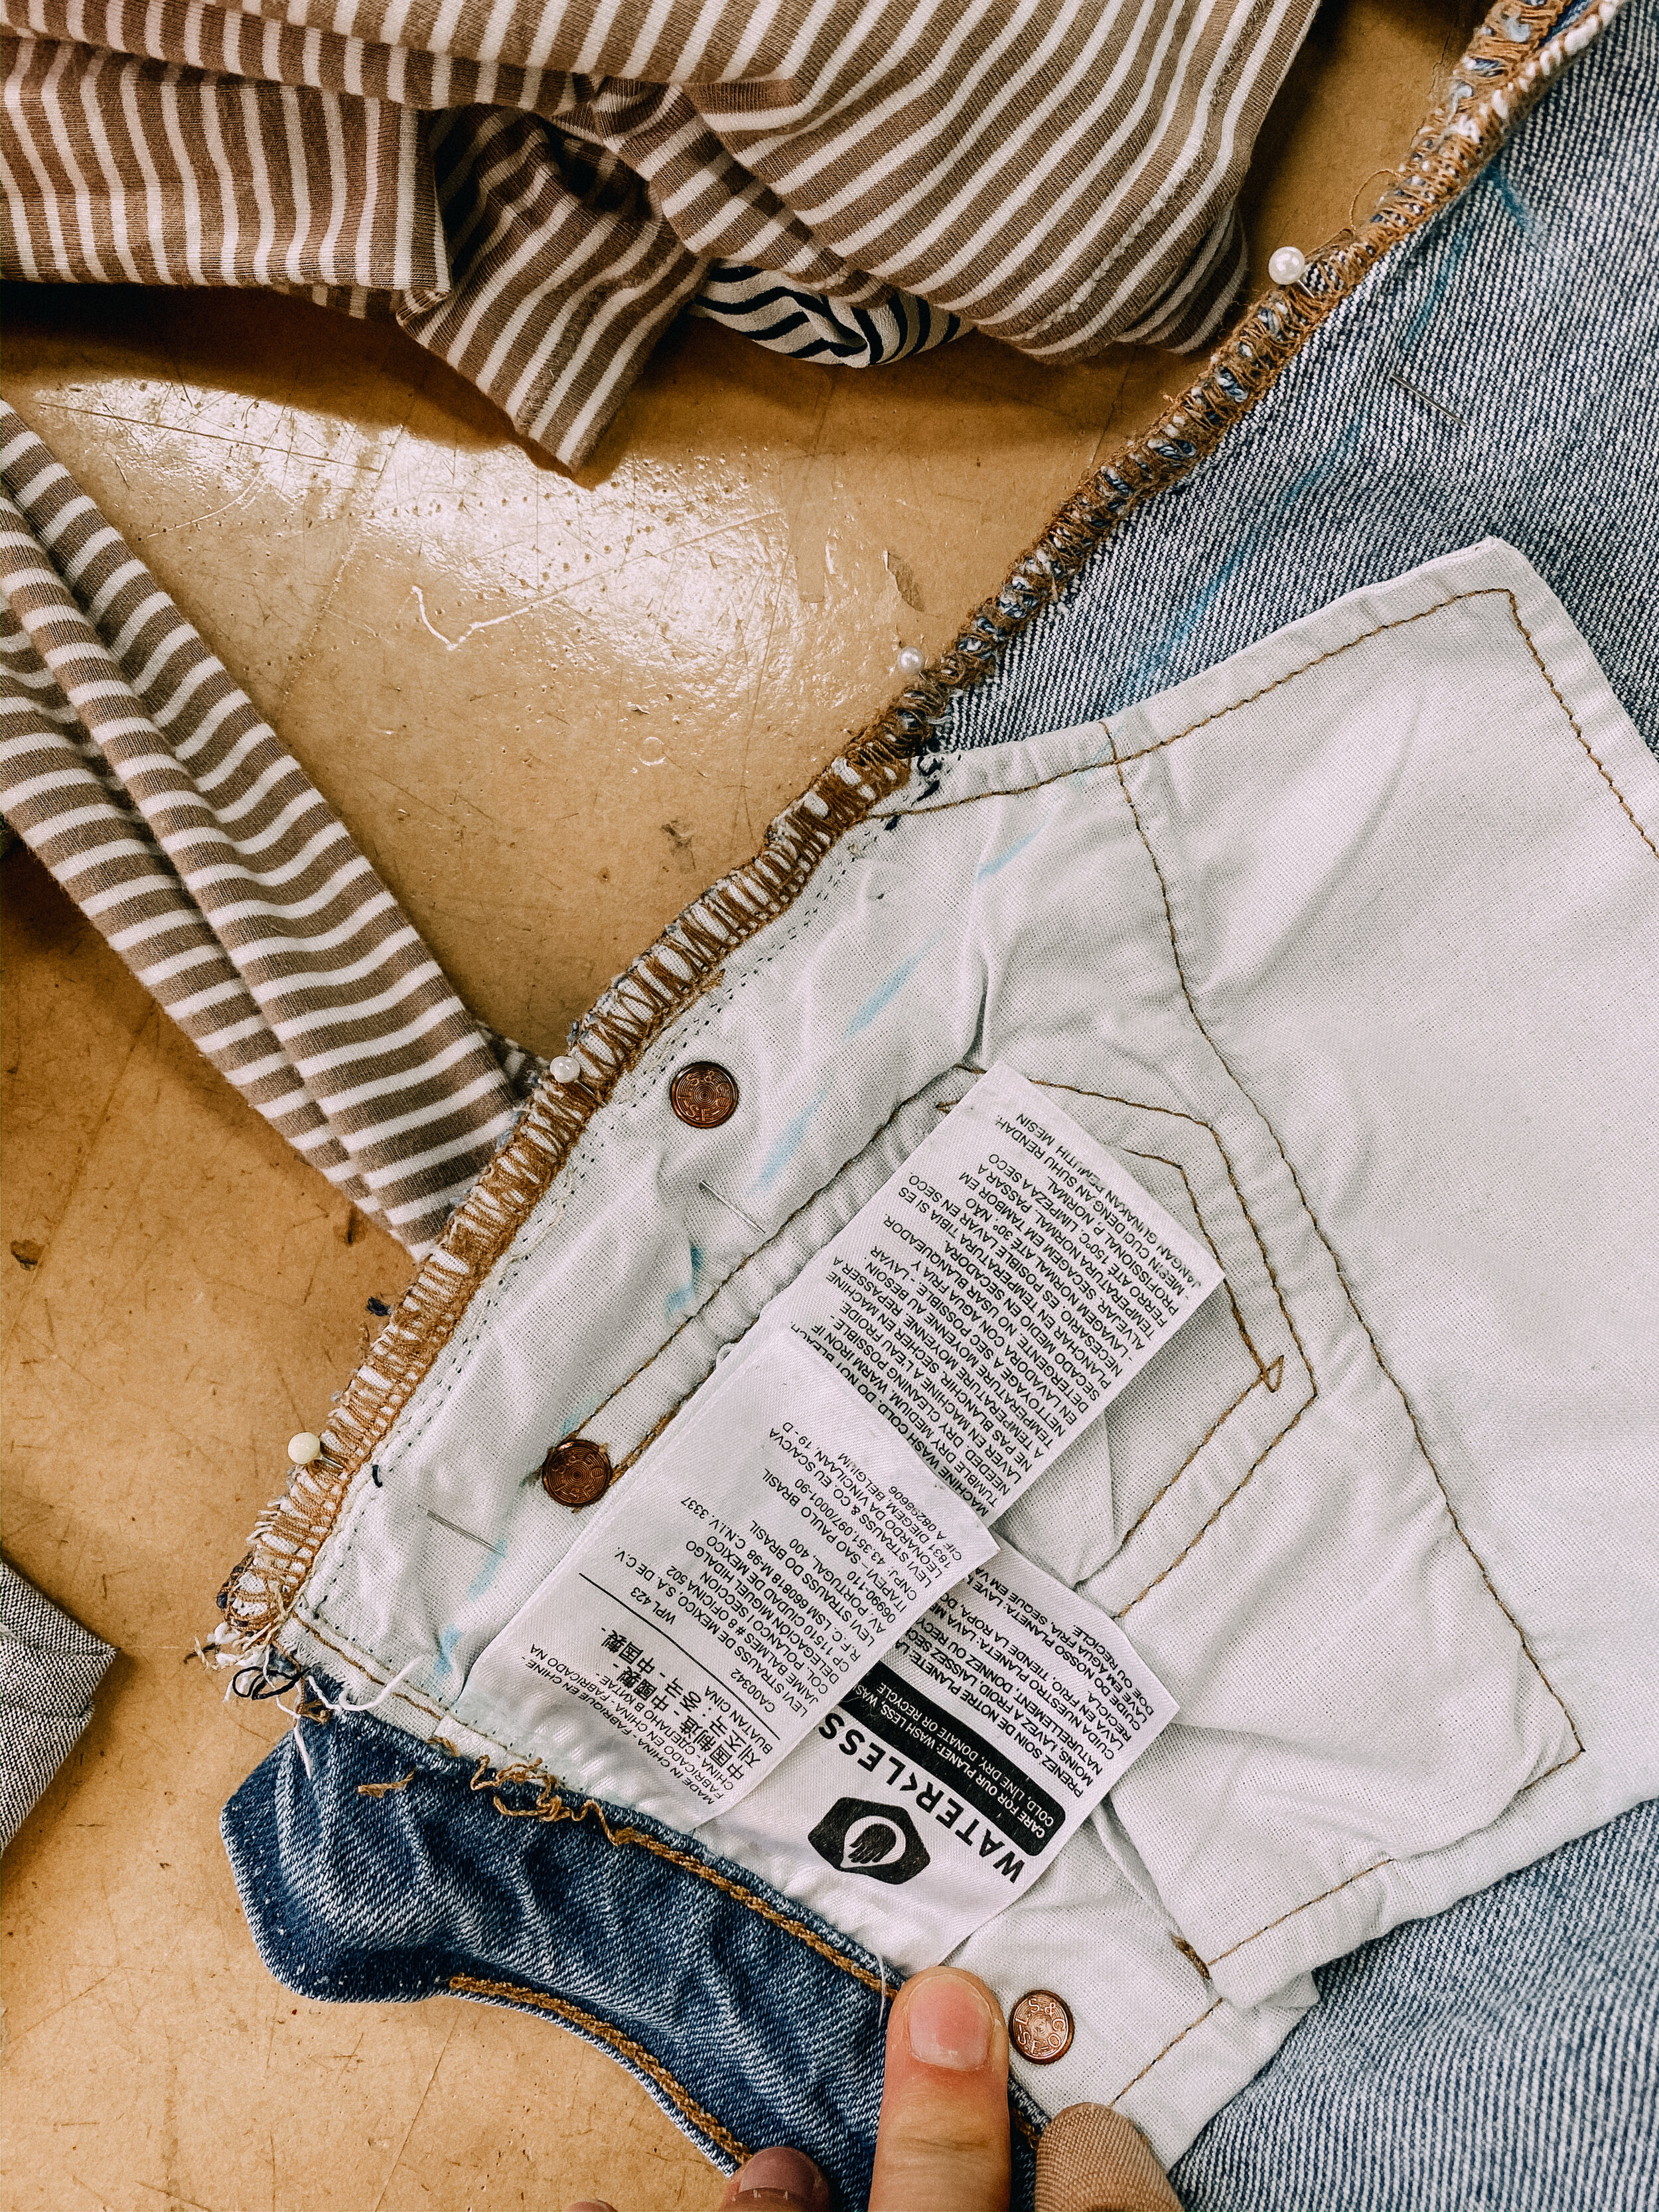
Now we are going to finish your waistband. To make it look as neat as possible, we are going to unfold the waistband before stitching it. Unfold your unpicked waistband and place it together right sides facing each other. Make sure that your raw edges line up and that the top of the waistband matches up when pinning.
Remember how much you pinched out when pinning your jeans at the start. Draw a line with a fabric pen where you want your stitching line to go.
If your belt loops are in the way, just unpick them and sew them back on later.

This step is not easy but try to stay patient, it will all be worth it. It is hard to stitch the waistband right sides together because it is still attached to the jeans, but you’ve got this!
I found it easiest to start sewing in the middle of the unfolded waistband and sew towards the raw edges on either sides. Once I was happy with my stitching, I sewed over it a second time because the waistband is under quite a bit of stress when wearing the jeans.
You can trim back the excess fabric and fold the waistband back to its original shape.
Once it is folded back you can topstitch your waistband in a matching thread colour. All the raw edges are hidden away in your waistband and there is only one additional seam visible.
Well done! Your jeans will feel brand new after this. I hope you’ll get heaps of wear out of them now that they properly fit!
It was a big realization for me to see that it is not my body that’s wrong, standard sizing simply doesn’t work for everybody. It is developed from average body measurements and not everyone has the average hip-waist-bust ratio.
Sewing gives me the power to make garments that fit me perfectly and make me feel confident in my skin.